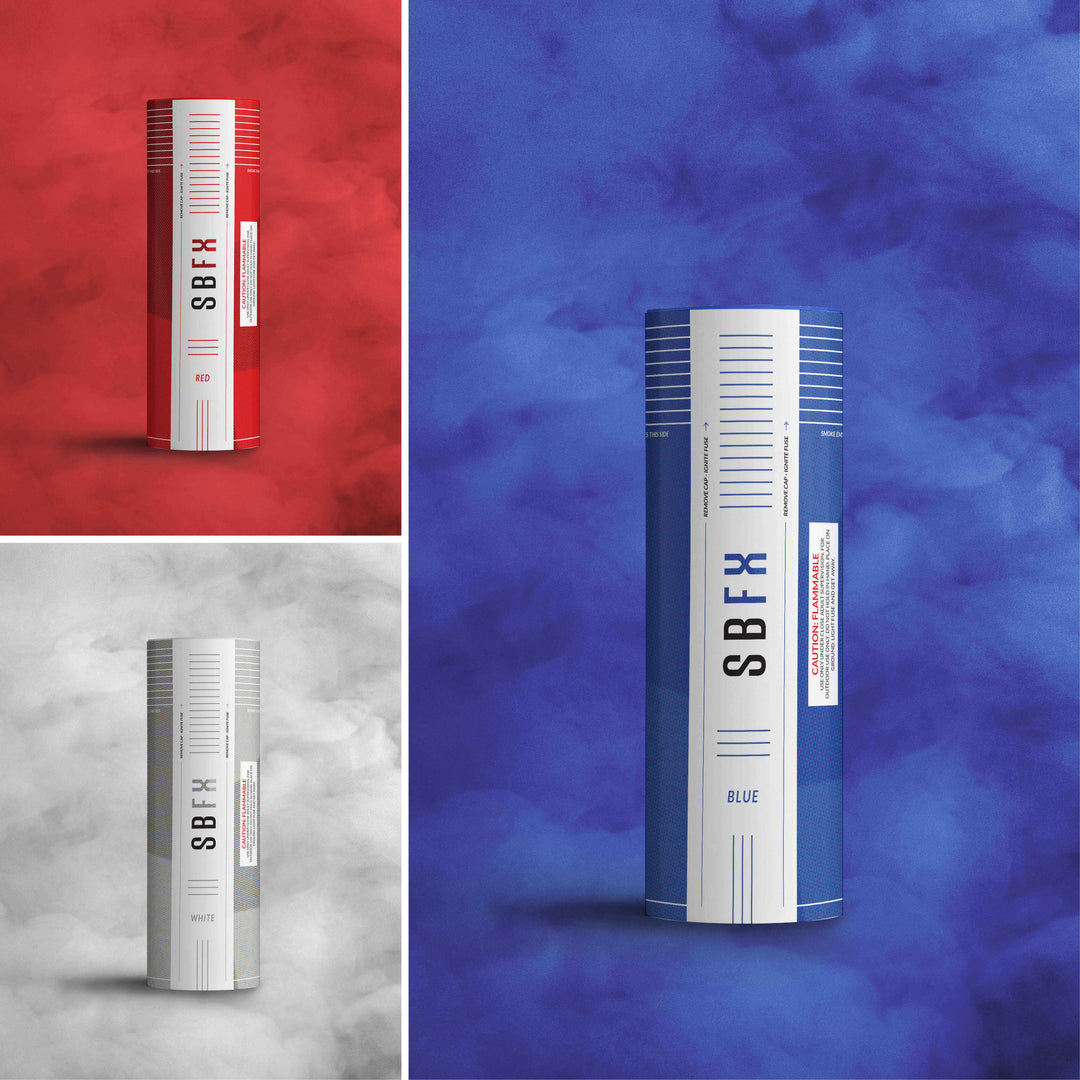
9 Ways to Ensure Your Smoke Bomb Photography Session is a Hit
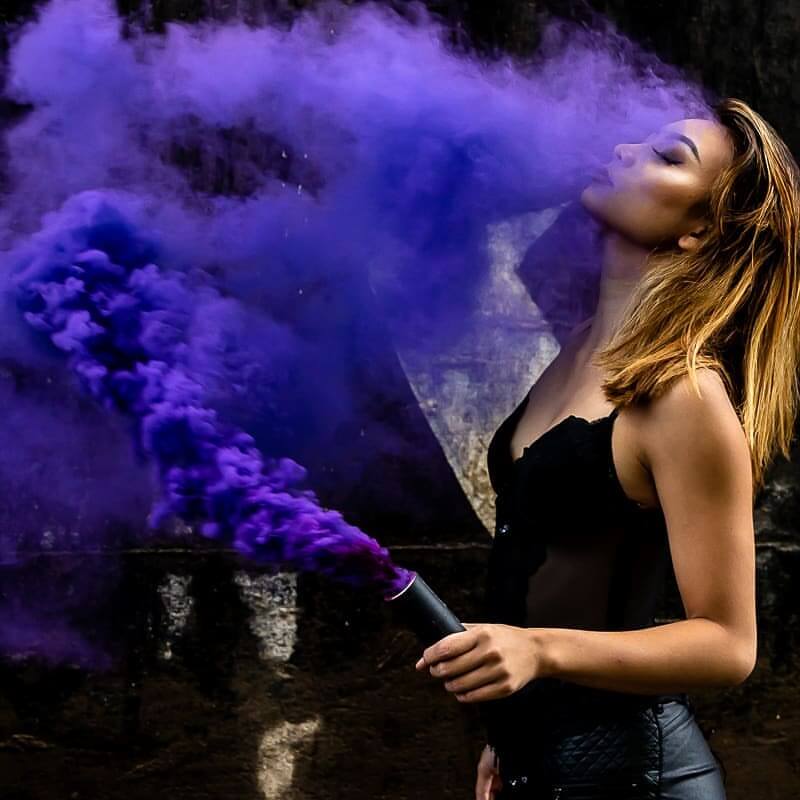
Smoke Grenades for Photography
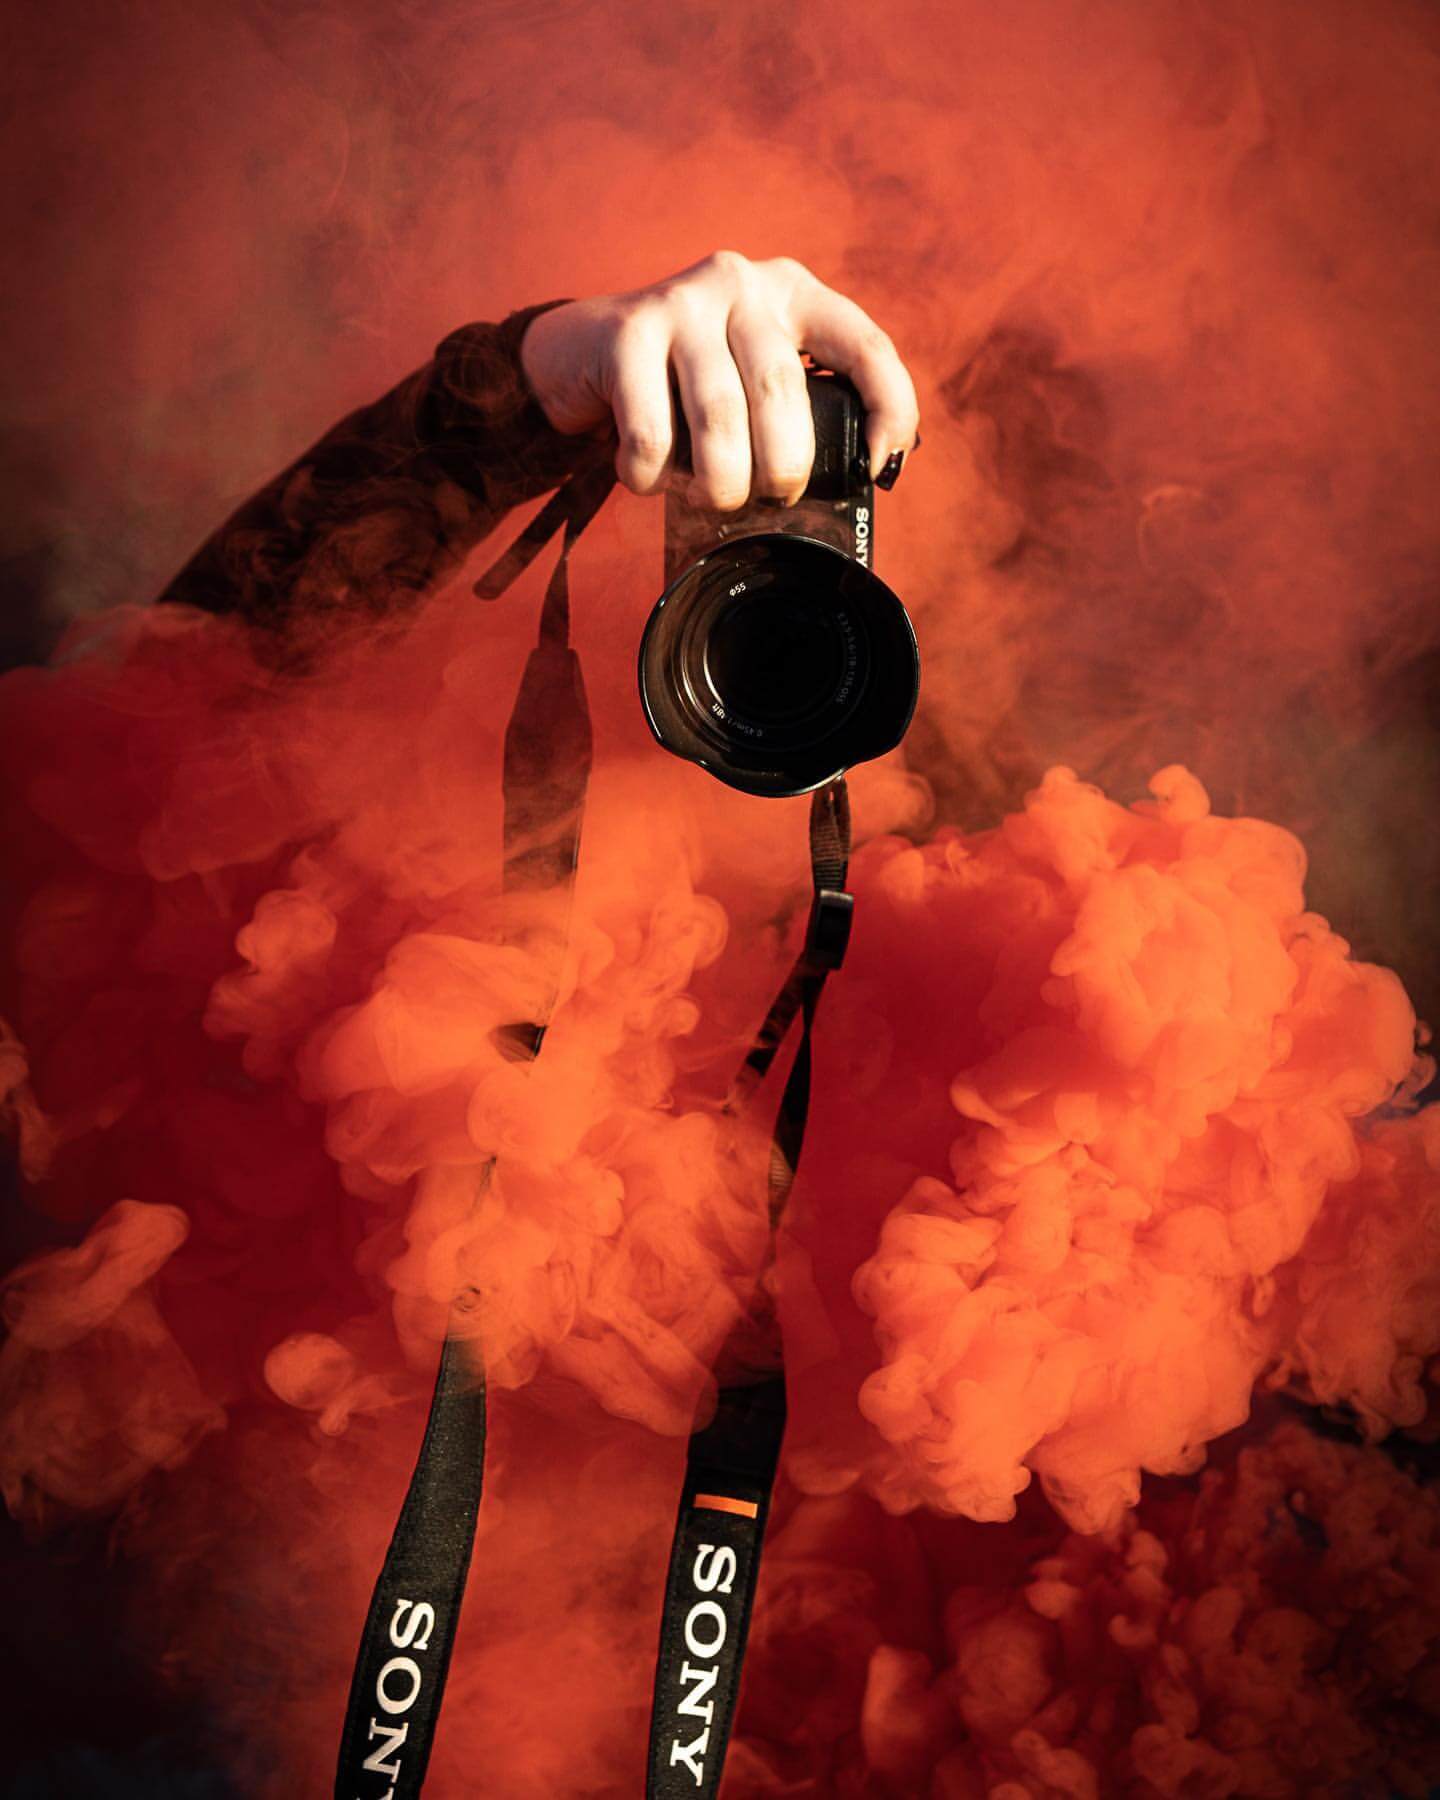
With the use of different photography props, smoke grenades have also made their way into the world of photos and cameras.
The smoke photo trend is not going away anytime soon as it levels up the production value. Photographers use it to add a pop of color to their abstract, portrait, or landscape photography.
While smoke grenades are a fun prop, they are pyrotechnic. So, you must handle them carefully to avoid any mishaps.
Here we have discussed some tips for using smoke grenades in the photo shoot. Also, we have discussed how you can find the right smoke grenades.
Best Smoke Bombs Photography Tips
#1 Safety First
If you want your smoke bomb photography to succeed, you must maintain safety. So the best thing you can do is get all the information about smoke bombs to avoid the risks.
It is generally advised not to use smoke bombs near flammable materials or a place as they can easily start a fire. For instance, you must not do smoke grenade photoshoots in the forest during the dry season.
After using the smoke bomb, pour water on it because the bomb generates heat even after the smoke is over. Then put it in a metal bucket or container. If needed, you can bring a first aid kit or fire extinguisher during your smoke bomb photoshoot.
#2 Try it Beforehand
While smoke bomb photography is not difficult, it is tricky. Before the photo shoot, you must use the bomb to understand how it works. Using a smoke grenade beforehand will also help you find the best camera and light settings.
With a few adjustments in shutter speed, you can experiment the smoke bomb and how it billows. Also, you can change the aperture to keep everything in focus.
Before the smoke bomb photoshoot, try doing some test photoshoots in another location.
#3 Bring Extra Smoke Bombs
You must bring a few extra smoke bombs because the photo shoot might not go as you have planned. For instance, if it's a windy day or the smoke bomb is not placed appropriately, you won't get the desired results.
Also, if you are shopping for a budget smoke bomb, you can get a faulty product. Therefore, you must only purchase smoke grenades from recognized brands.
#4 Watch Out for the Weather
Smoke bomb photography almost entirely depends on the weather. For example, if you wish for a mellow and surreal look, the smoke must be diffused as much as possible in the air.
You can create this sort of photography on a windy day. But if there isn't sufficient wind, use a fan to create a light breeze. Similarly, if you want a dense smoke cloud in your photos, wind can ruin it.
Furthermore, if you have planned a smoke bomb photoshoot during the dry season, your location must be limited to urban settings.
#5 Choose the Right Color
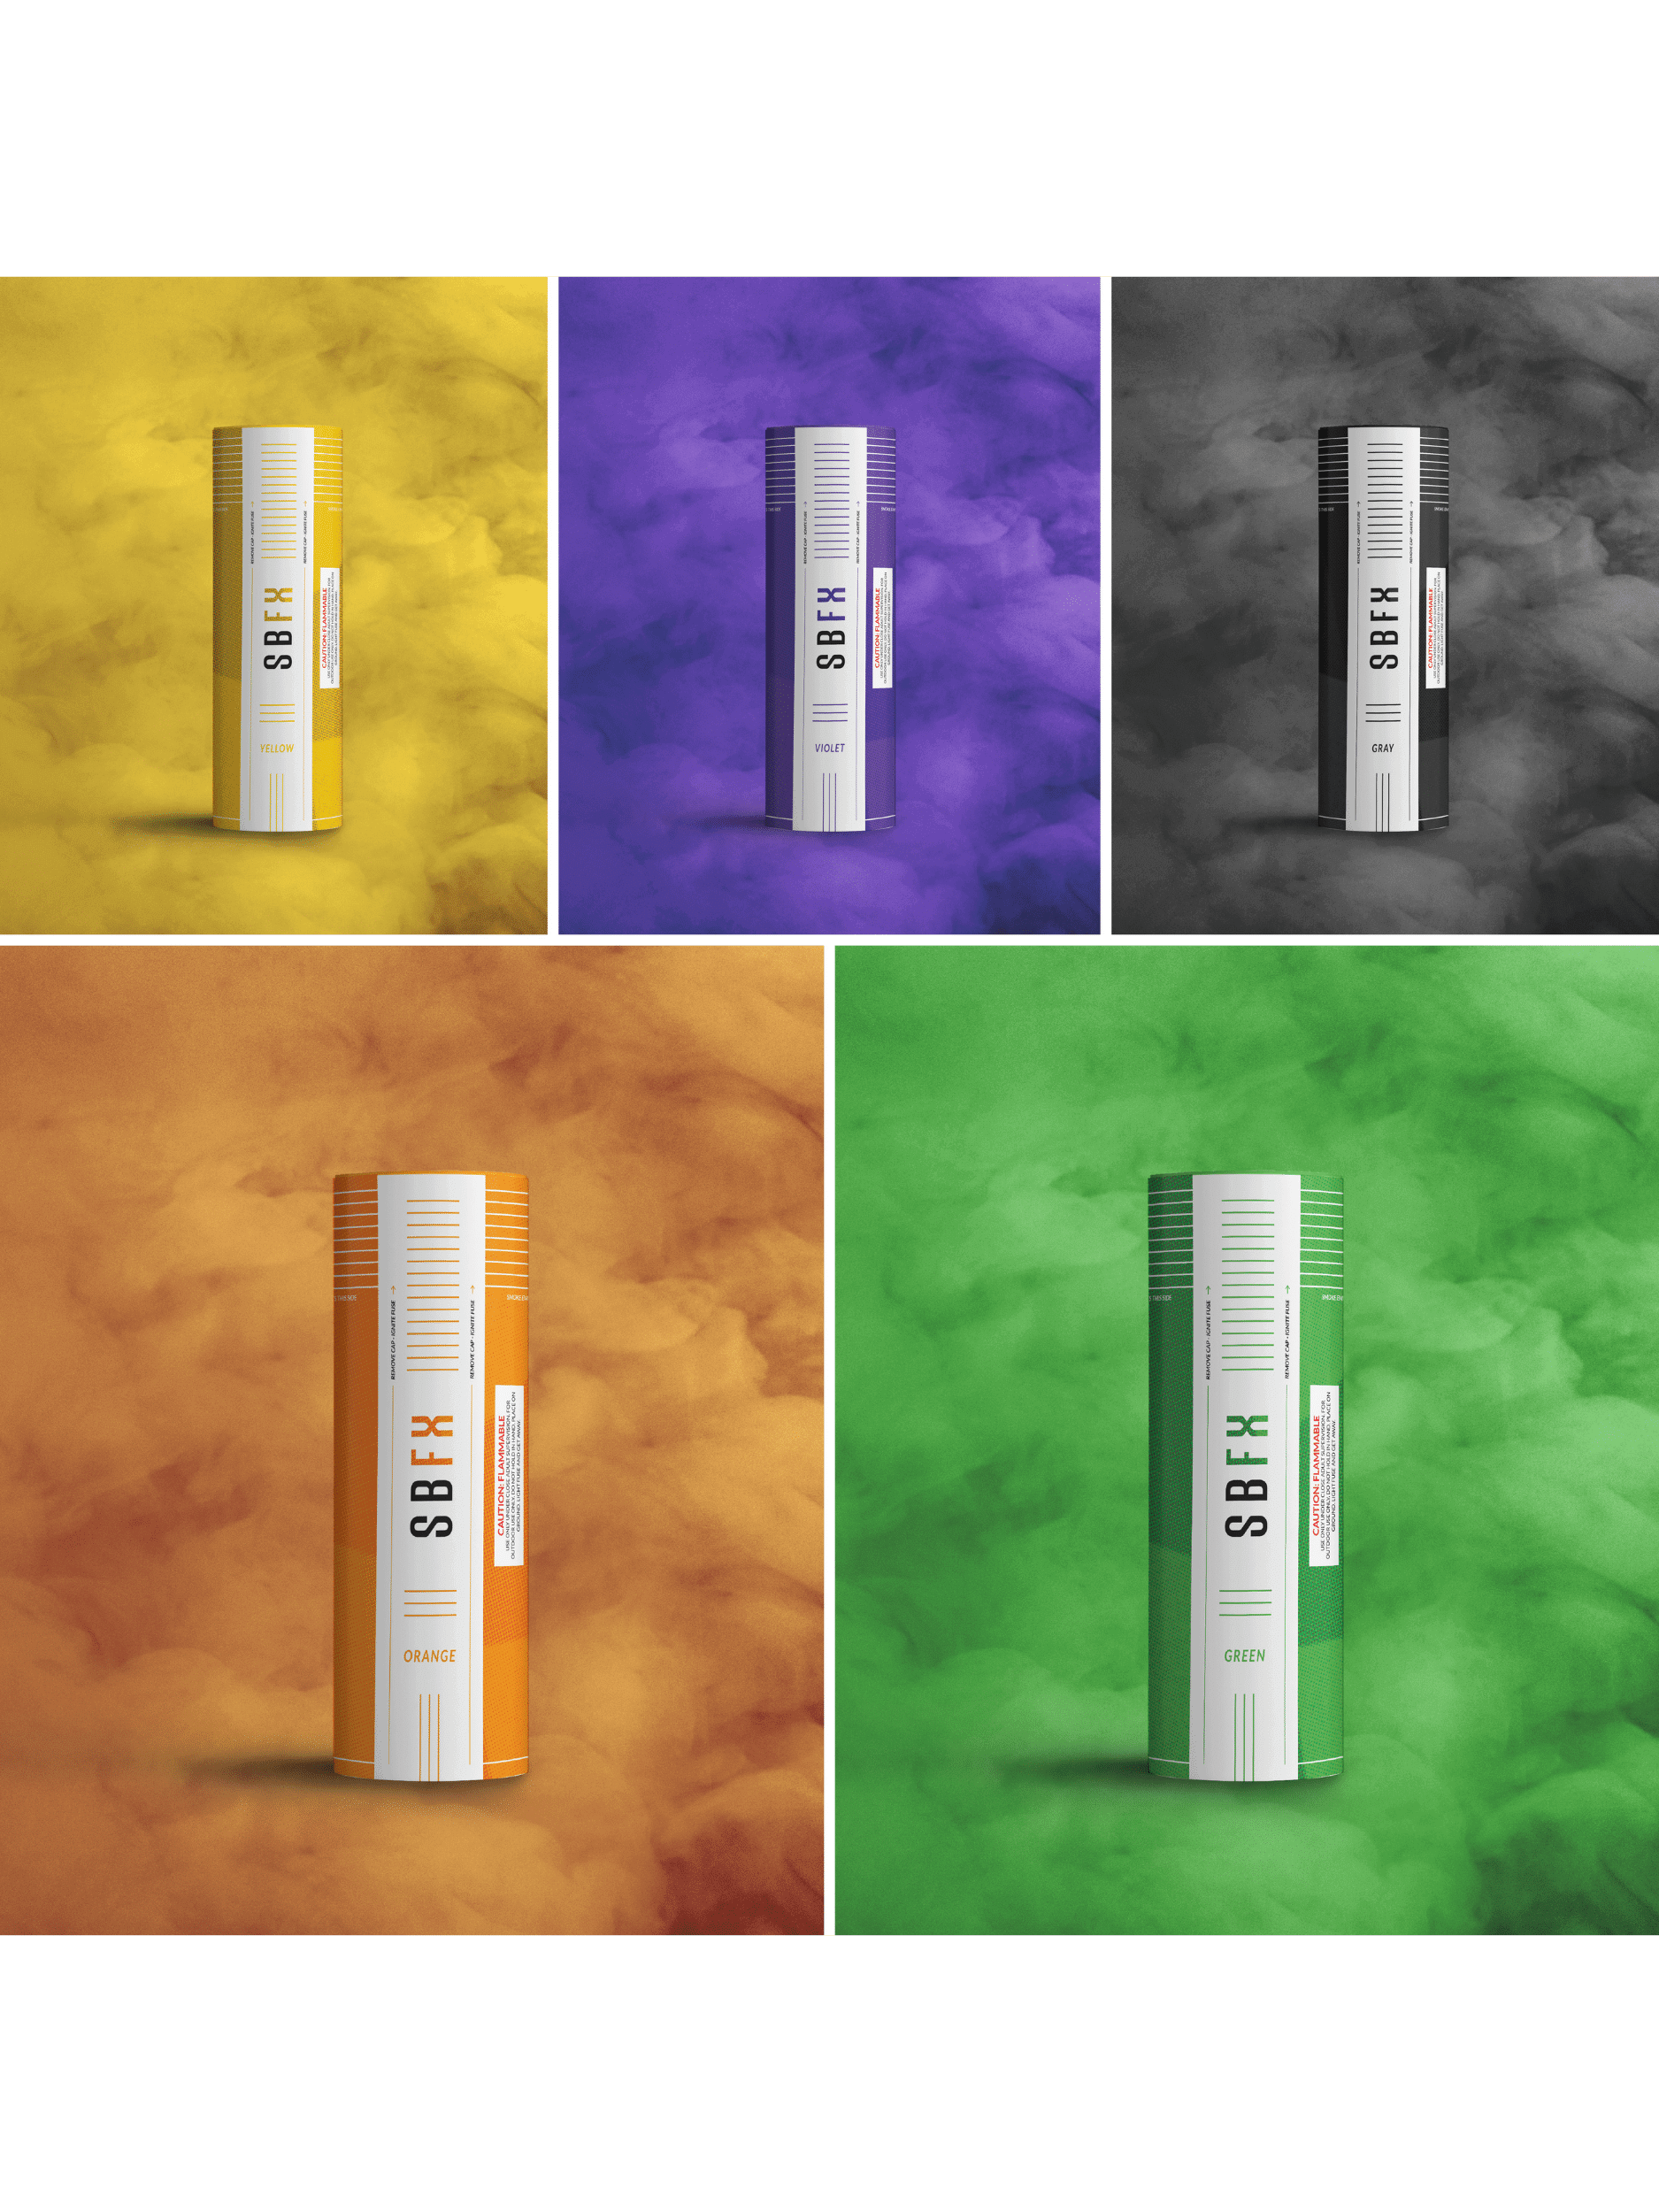
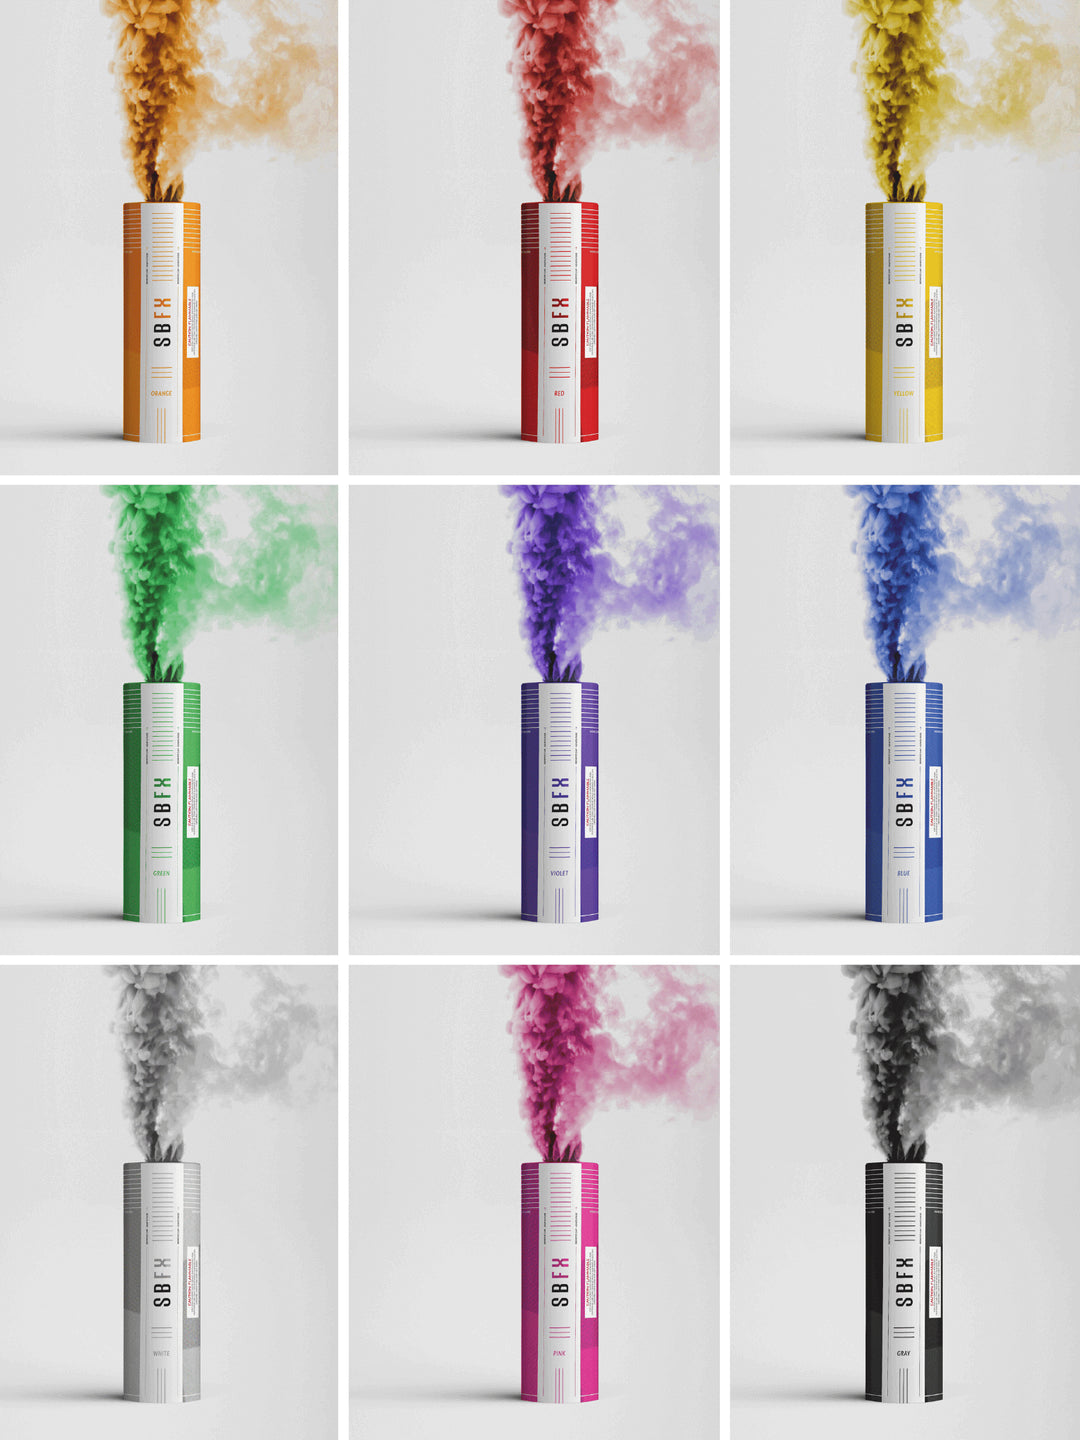
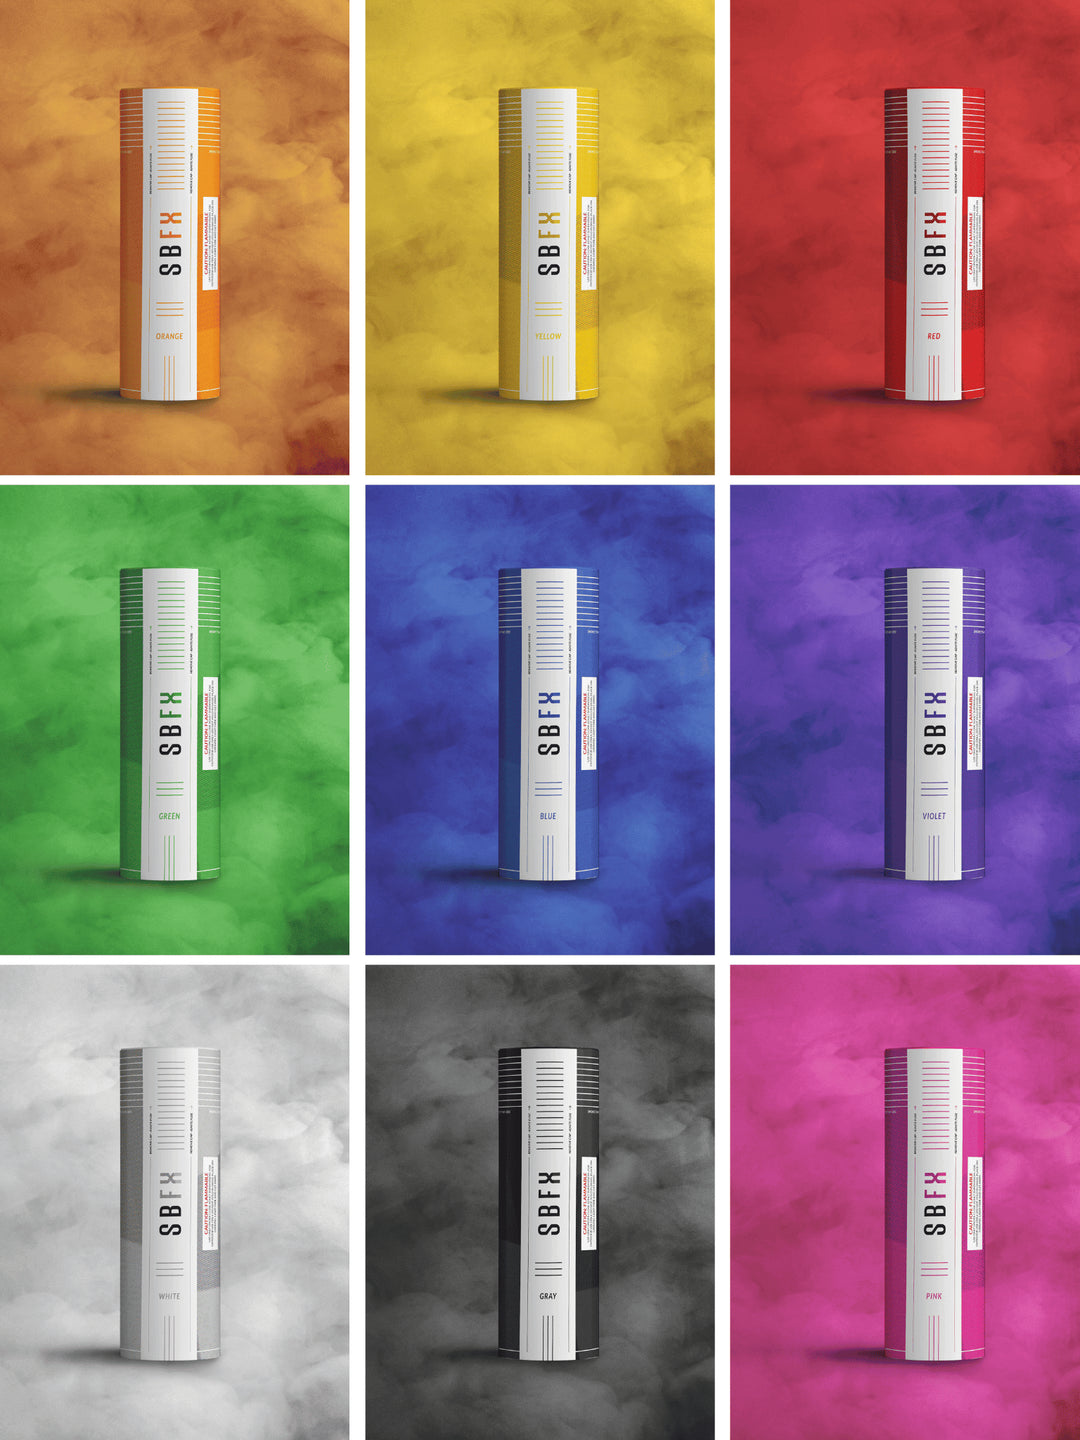
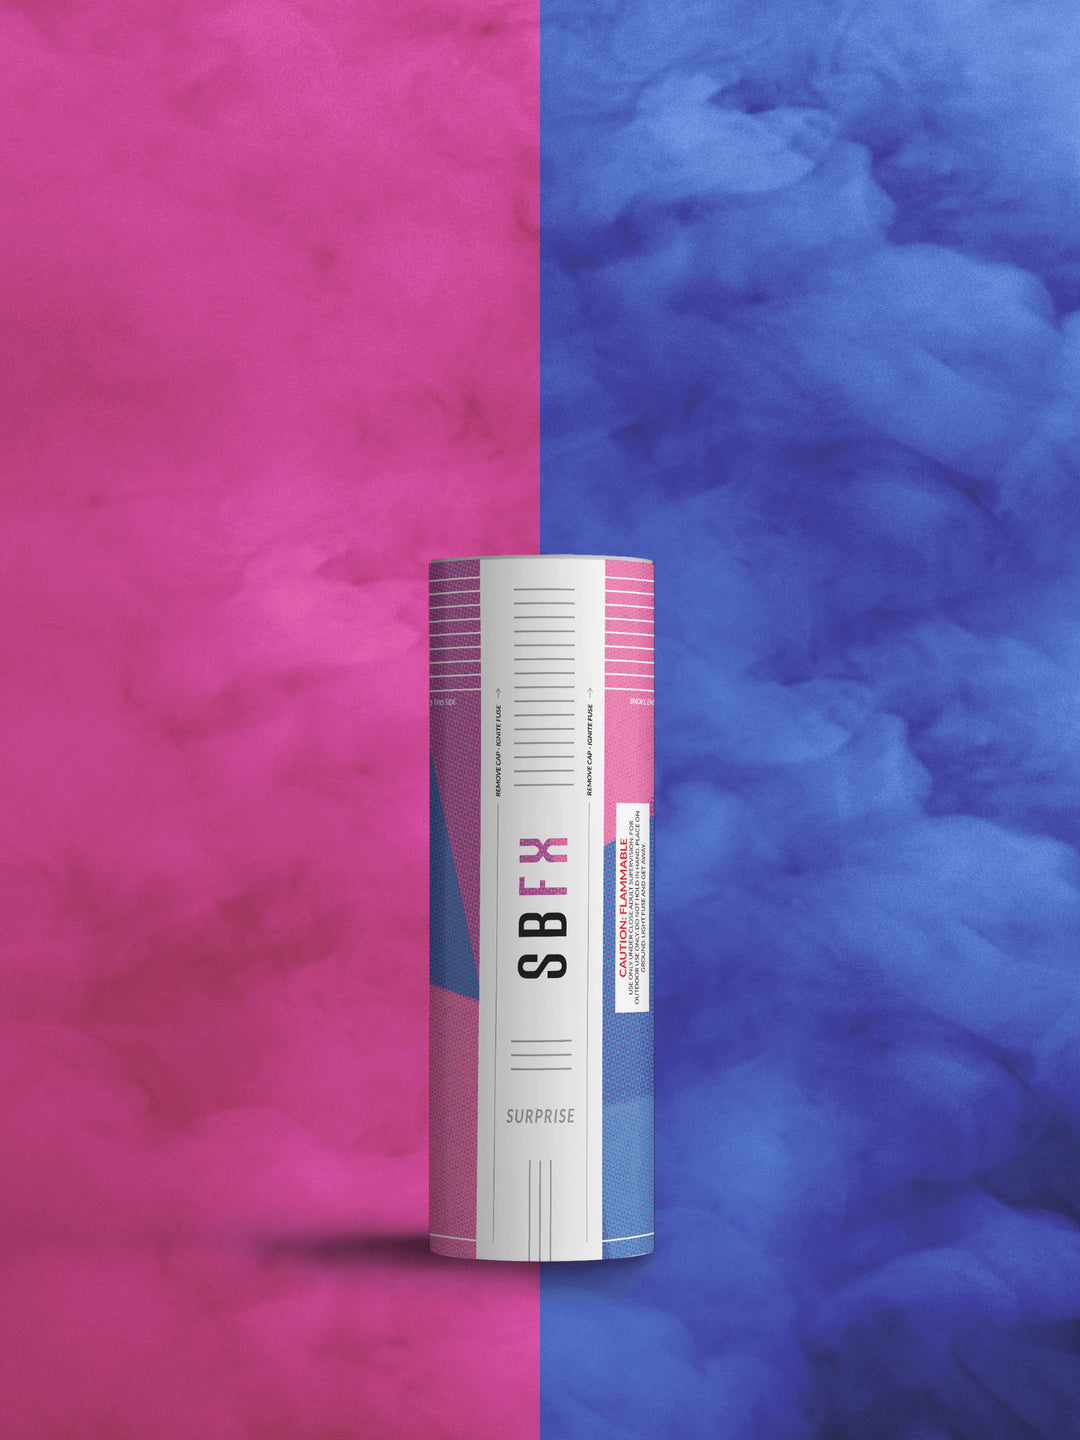
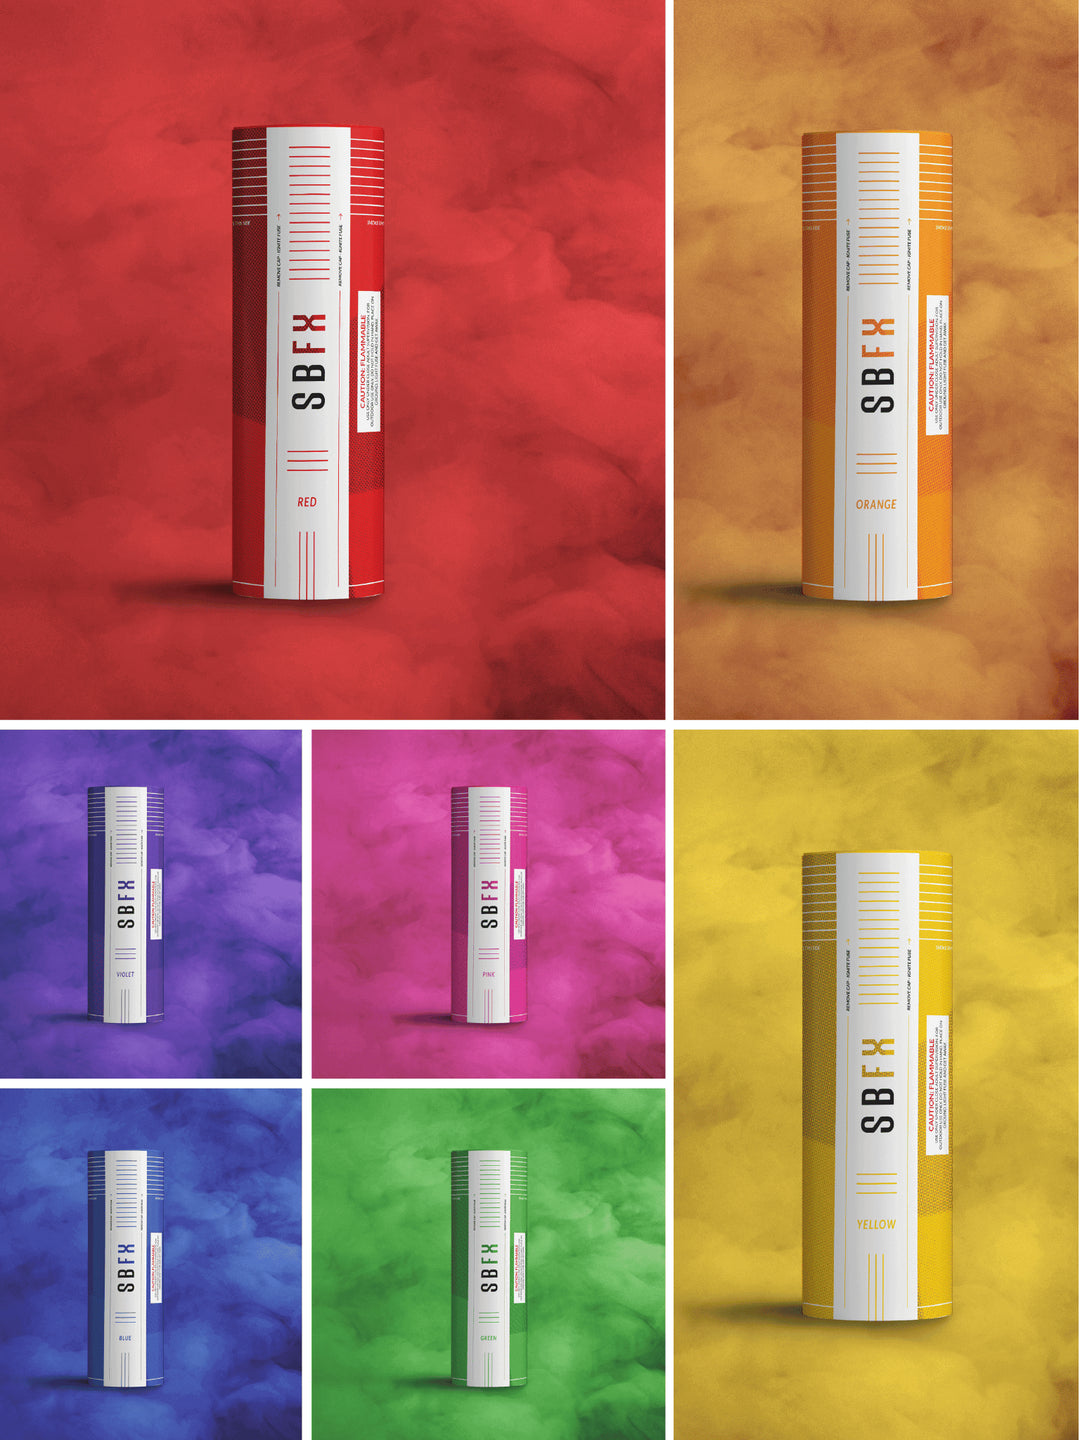
Choosing the right smoke bomb color is equally important. So, carefully imagine the kind of atmosphere you want to create in your photos. In addition, consider the background and the model's clothing color.
Instead of one, you can use more bombs to create a dramatic effect in your photoshoot. Or you can follow the triadic color scheme to get more artistic.
#6 Use Correct Lighting
The only way you can make your smoke grenade photoshoot pop is by correctly using the lighting. For example, you can use sunlight at noon to get a natural effect.
Also, when you have a proper light setting, you can make the best use of fast shutter speeds to capture details.
#7 Be Ready Before Activating Smoke Grenade
Smoke bombs have a short burn time. So, if you are not ready, you might miss the right frame. The only way to beat this problem is by getting ready before activating the smoke grenade.
Once you are in the position, you can use the bomb to take nice pictures. Complete your photoshoot within the 40 to 60 seconds time frame when smoke effects truly last.
If you don't have an assistant, consider using a tripod. This way, you can make yourself available without ruining the photo shoot.
#8 Give Clear Instructions to Model
Before you start a photoshoot with smoke, you must make your models aware of the risk of using a smoke bomb. Then, you must only proceed if they agree.
You must also inform your models about the exact position of the smoke grenade so they can maintain a safe distance. Always try activating the smoke bomb away from the model's face.
In addition, give your models clear instructions about handling the smoke bomb after the smoke finishes. For example, ask them to put it in a metal bucket instead of keeping it on the ground.
Lastly, share your photoshoot idea with your model so they can understand what effect you are looking for. Don't forget to give them clear instructions on how they must move so you can get the best pictures.
#9 Experiment with Other Objects
By experimenting with different objects, you can make your smoke grenade photoshoot more interesting. In addition, it will allow you to get creative with abstract or conceptual photography.
Tips to Find the Right Smoke Grenades
Before you purchase smoke grenades, remember that there are many options. Some come in cans, while others are available in grenades or sticks.
Although each type works differently, you must consider the given features when purchasing either.
Burn Time
Different smoke bombs have different burn times. So, if you are a newbie smoke photographer, get one that has a longer burn time. This way, you will have sufficient time to adjust elements into the frame.
Density
Besides burn time, smoke density also plays an important role in how your smoke photos turn out. Plan on whether you want an opaque coverage or a thin mist-like effect.
Activation
The method of smoke bomb activation is also an important consideration because a ring pull method is easier to use than others. However, you must clearly read the instructions regardless of the activation method.
Conclusion
Now that you know everything about the smoke bomb, we hope you will use it carefully in your photo shoot. Also, follow the features discussed in this post while purchasing smoke grenades to get the best one.


