Complete Guide to Epic Smoke Bomb Portraits | Master Your Craft
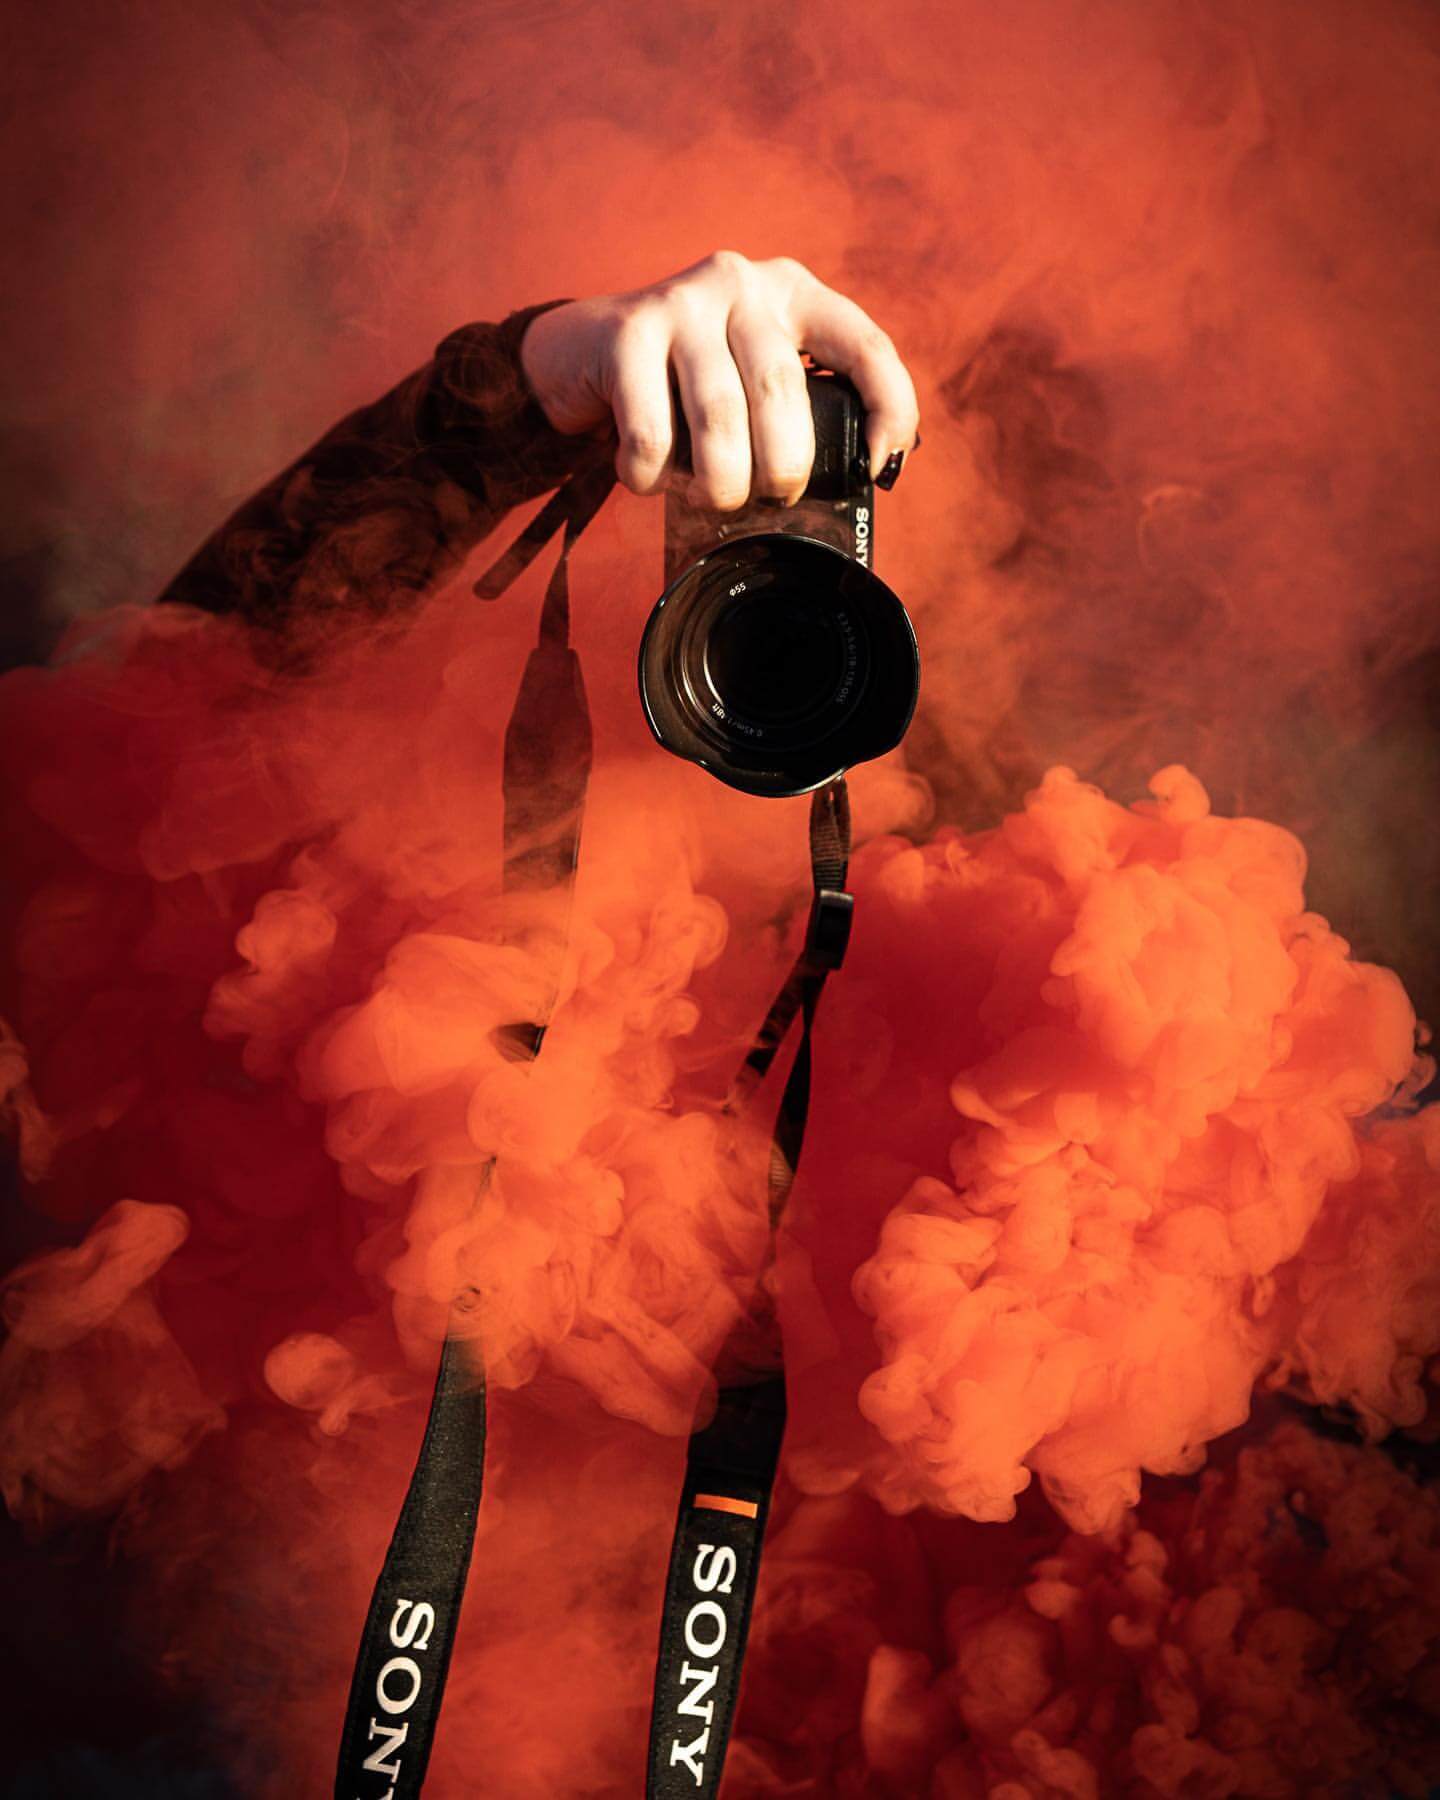
Smoke bomb photography is a unique and creative way to add an extra dimension to your portraits. The swirling colors and ethereal quality of the smoke can transform an ordinary portrait into a work of art. This guide will walk you through the process of creating epic smoke bomb portraits, from choosing the perfect location to post-editing your images. We'll discuss the importance of safety, the best camera settings to use, and how to work with smoke bombs to achieve the desired effect.
Whether you're a seasoned professional or a beginner looking to experiment with a new technique, this guide will provide you with the knowledge and skills you need. We'll be using the Canon R5 with a 15-35mm lens for this shoot, but the principles we'll discuss can be applied to any camera and lens combination. So, let's dive in and start mastering the craft of smoke bomb photography.
Step 1: Choosing the Location
The first step in creating epic smoke bomb portraits is choosing the right location. Safety should be your top priority when working with smoke bombs. Therefore, the location you choose should be open, well-ventilated, and free from flammable materials. It's also important to consider the aesthetic of the location. For this shoot, we've chosen a location with a concrete urban vibe. The stark, industrial setting contrasts beautifully with the vibrant smoke, creating a visually striking image.
The urban setting also provides a variety of interesting backdrops for your portraits. From graffiti-covered walls to weathered brick buildings, the possibilities are endless. The key is to choose a location that complements your subject and the smoke, without overpowering them. Remember, the smoke is the star of the show, so choose a location that allows it to shine.
Recommended Lens and Camera Settings
Once you've chosen your location, it's time to set up your camera. For this shoot, we recommend using a wide-angle lens. A wide-angle lens allows you to capture the full extent of the smoke, creating a more dramatic and immersive image. We're using the Canon R5 with a 15-35mm lens, but any wide-angle lens will work.
As for camera settings, we started with a shutter speed of 1/400, an aperture of f/3.2, and an ISO of 400. As the shoot progressed and the lighting conditions changed, we adjusted these settings to 1/1000, f/2.8, and ISO 800. These settings allowed us to capture sharp, well-exposed images, even in the midst of swirling smoke.
Working with Smoke Bombs
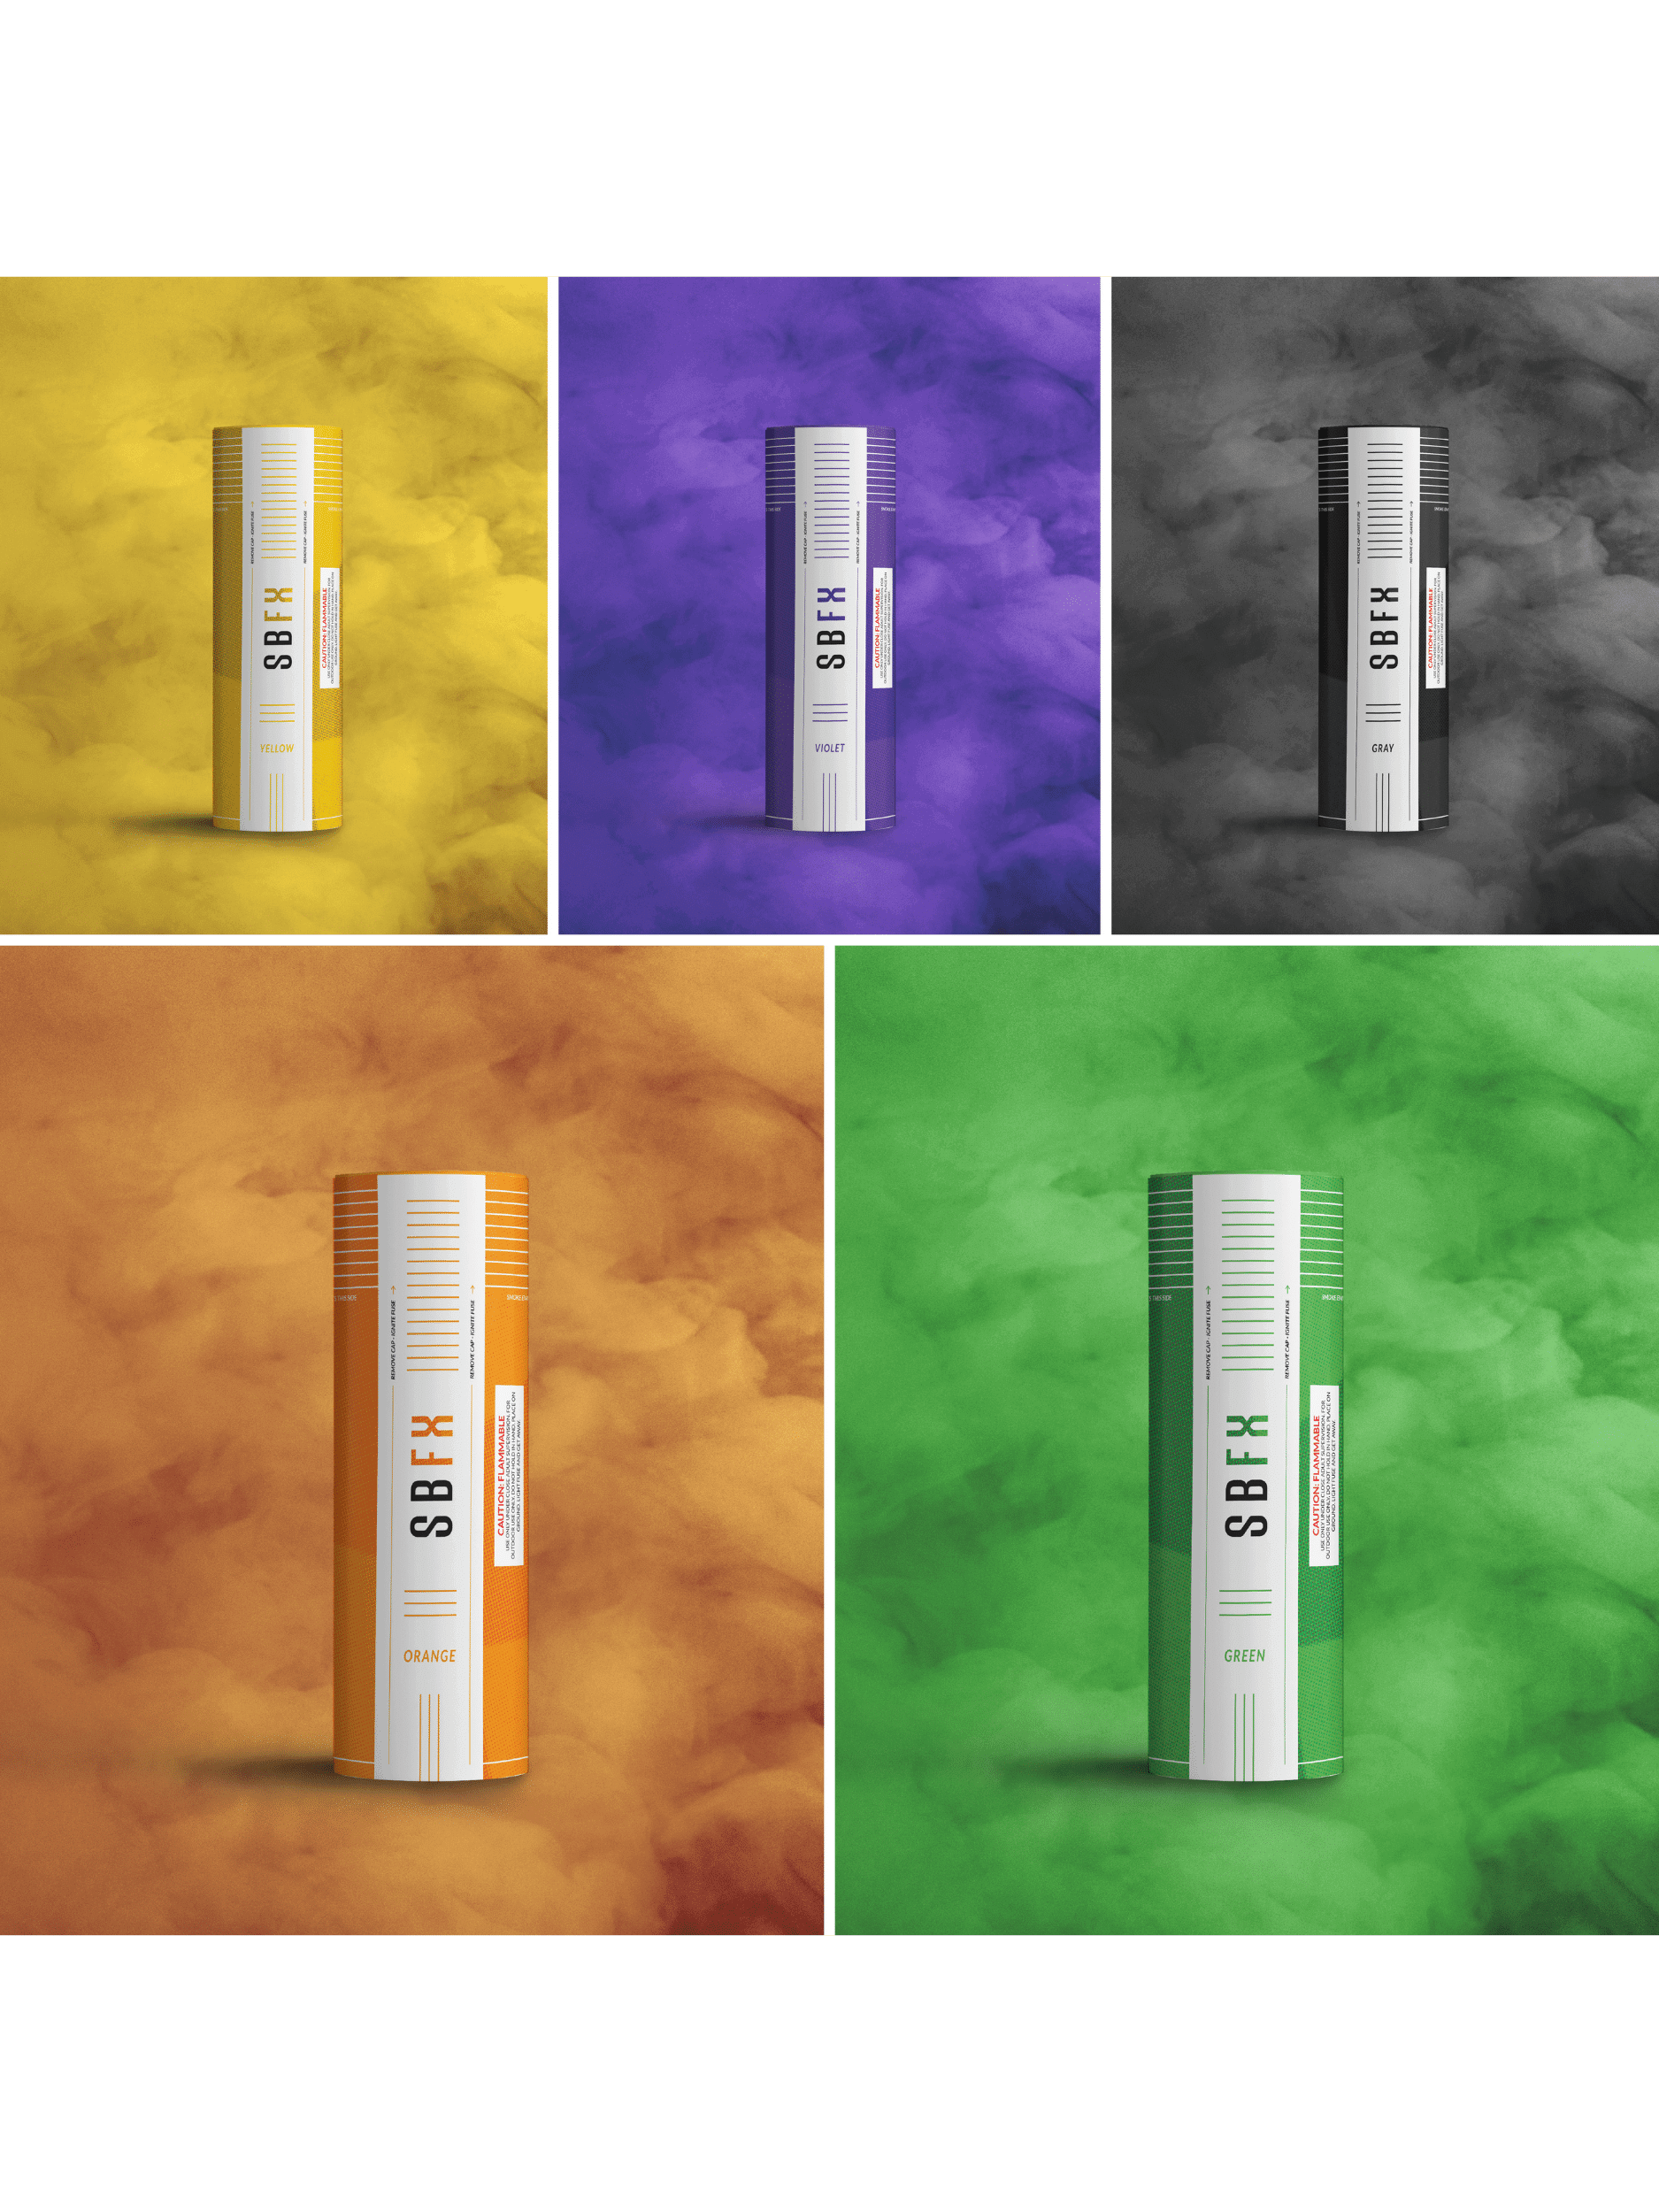
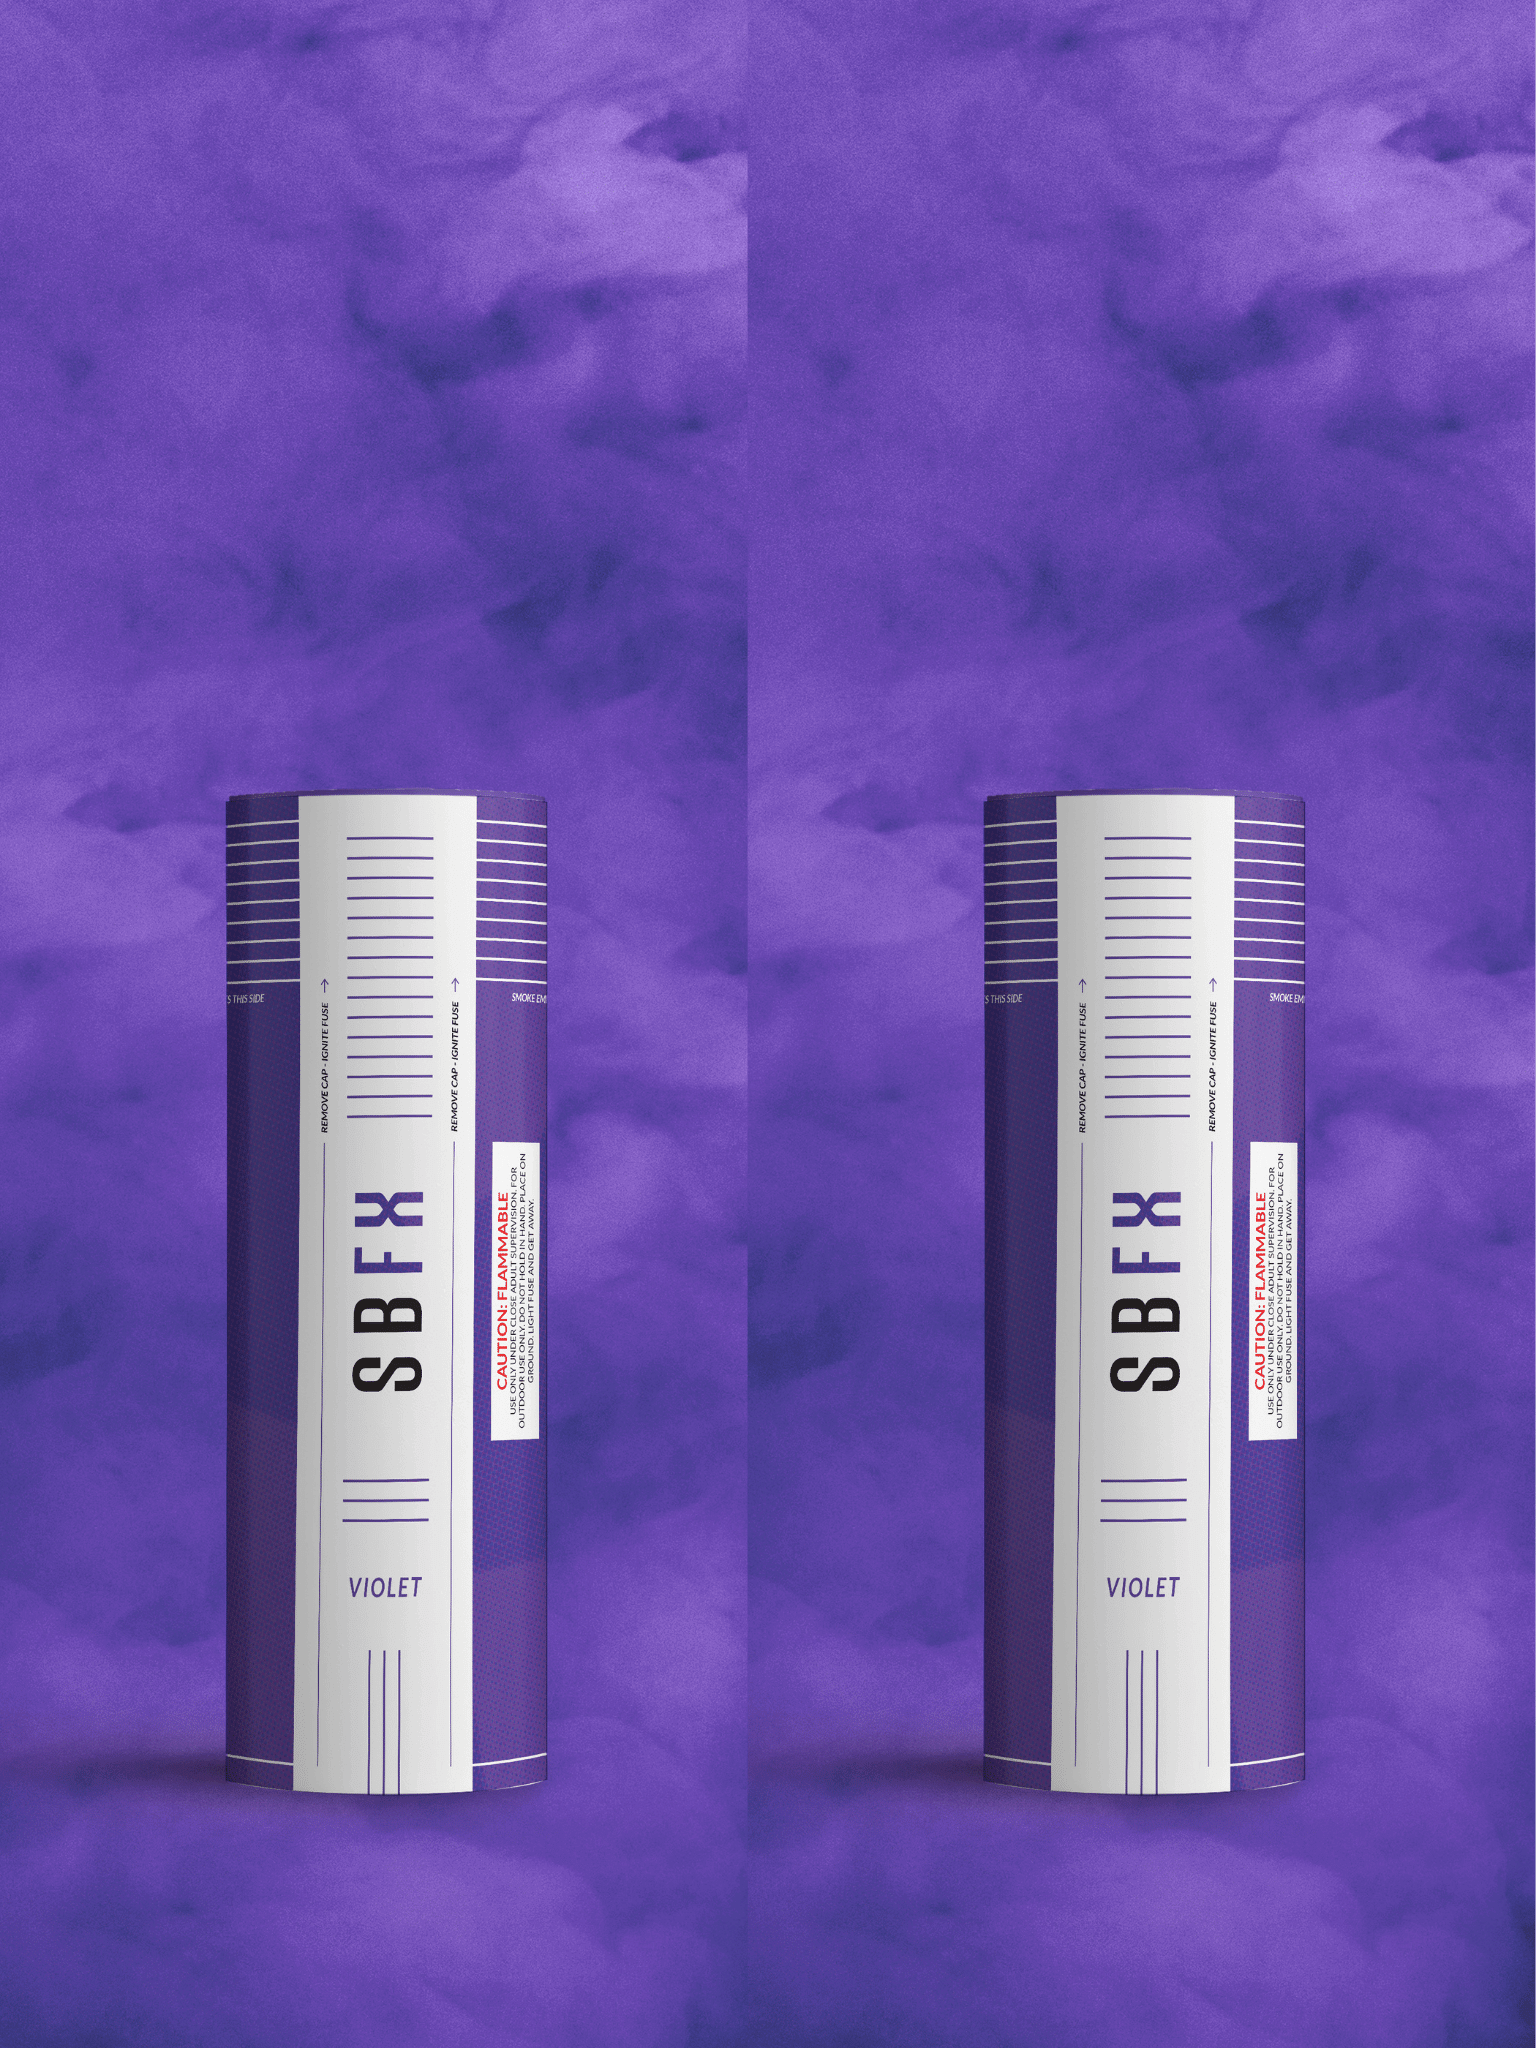
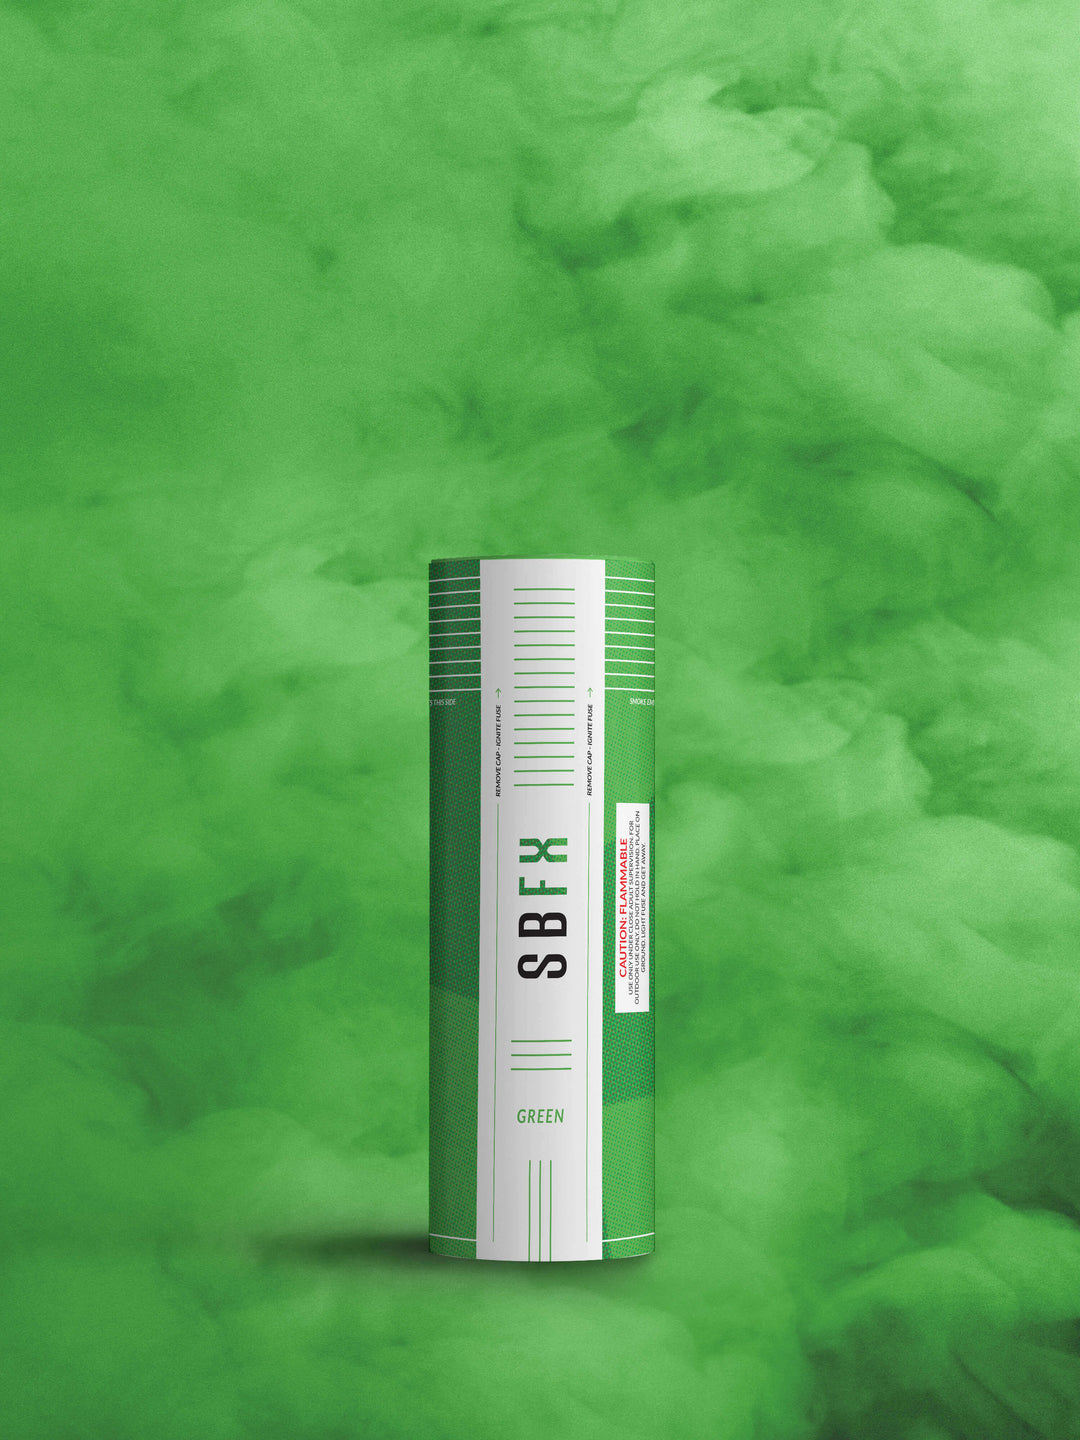
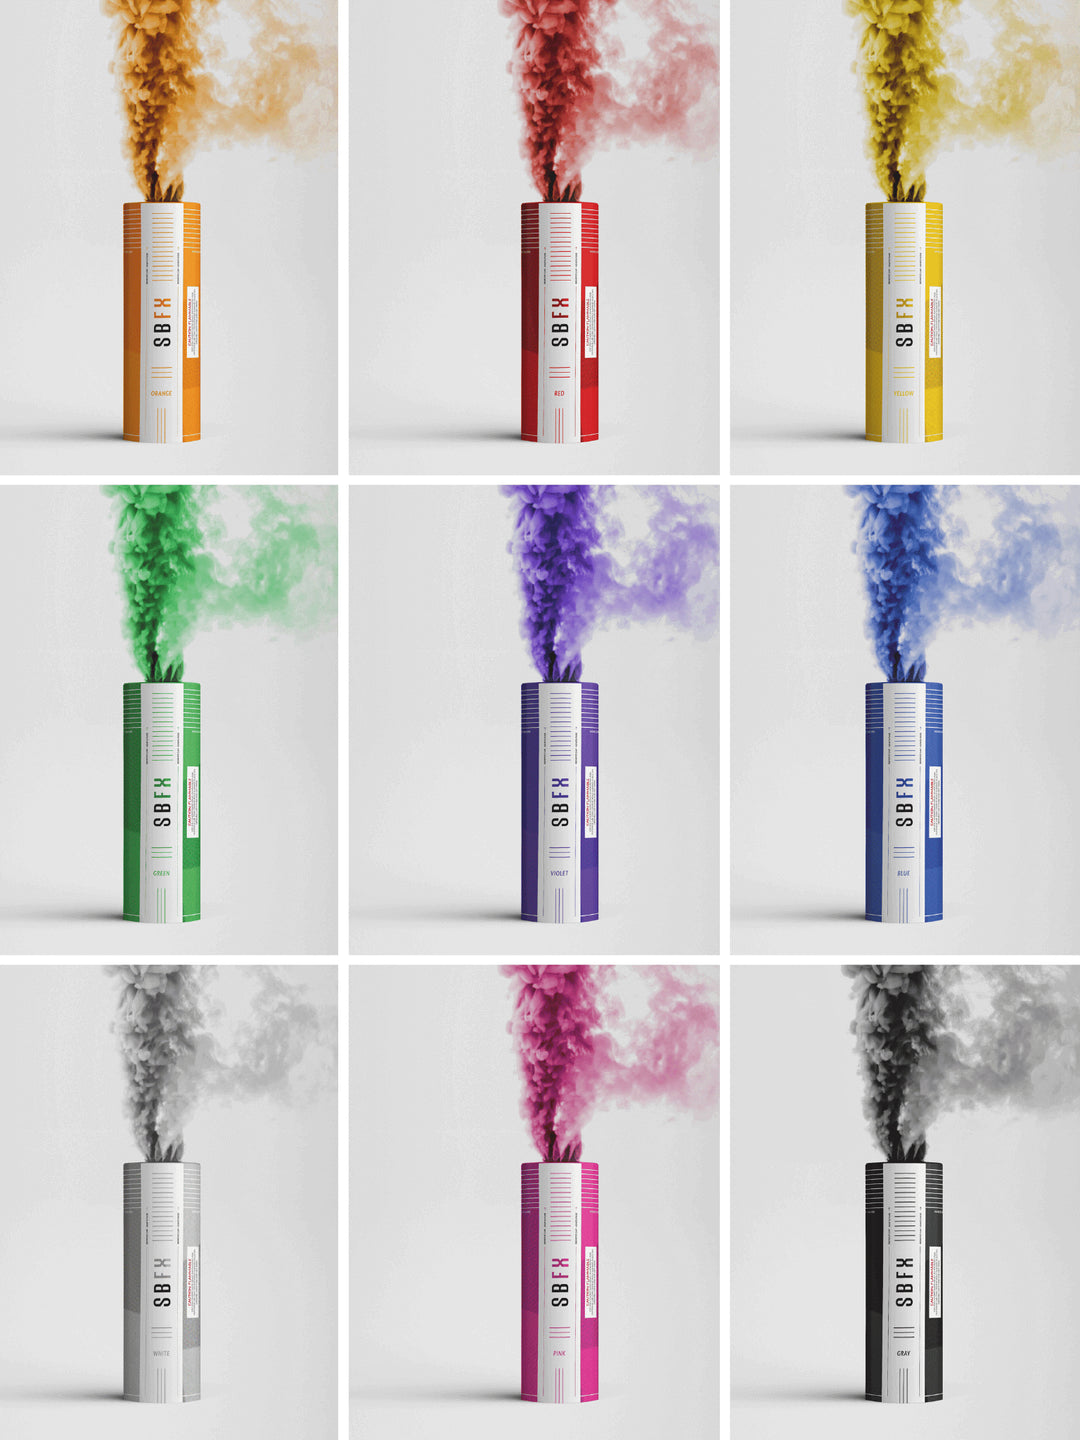
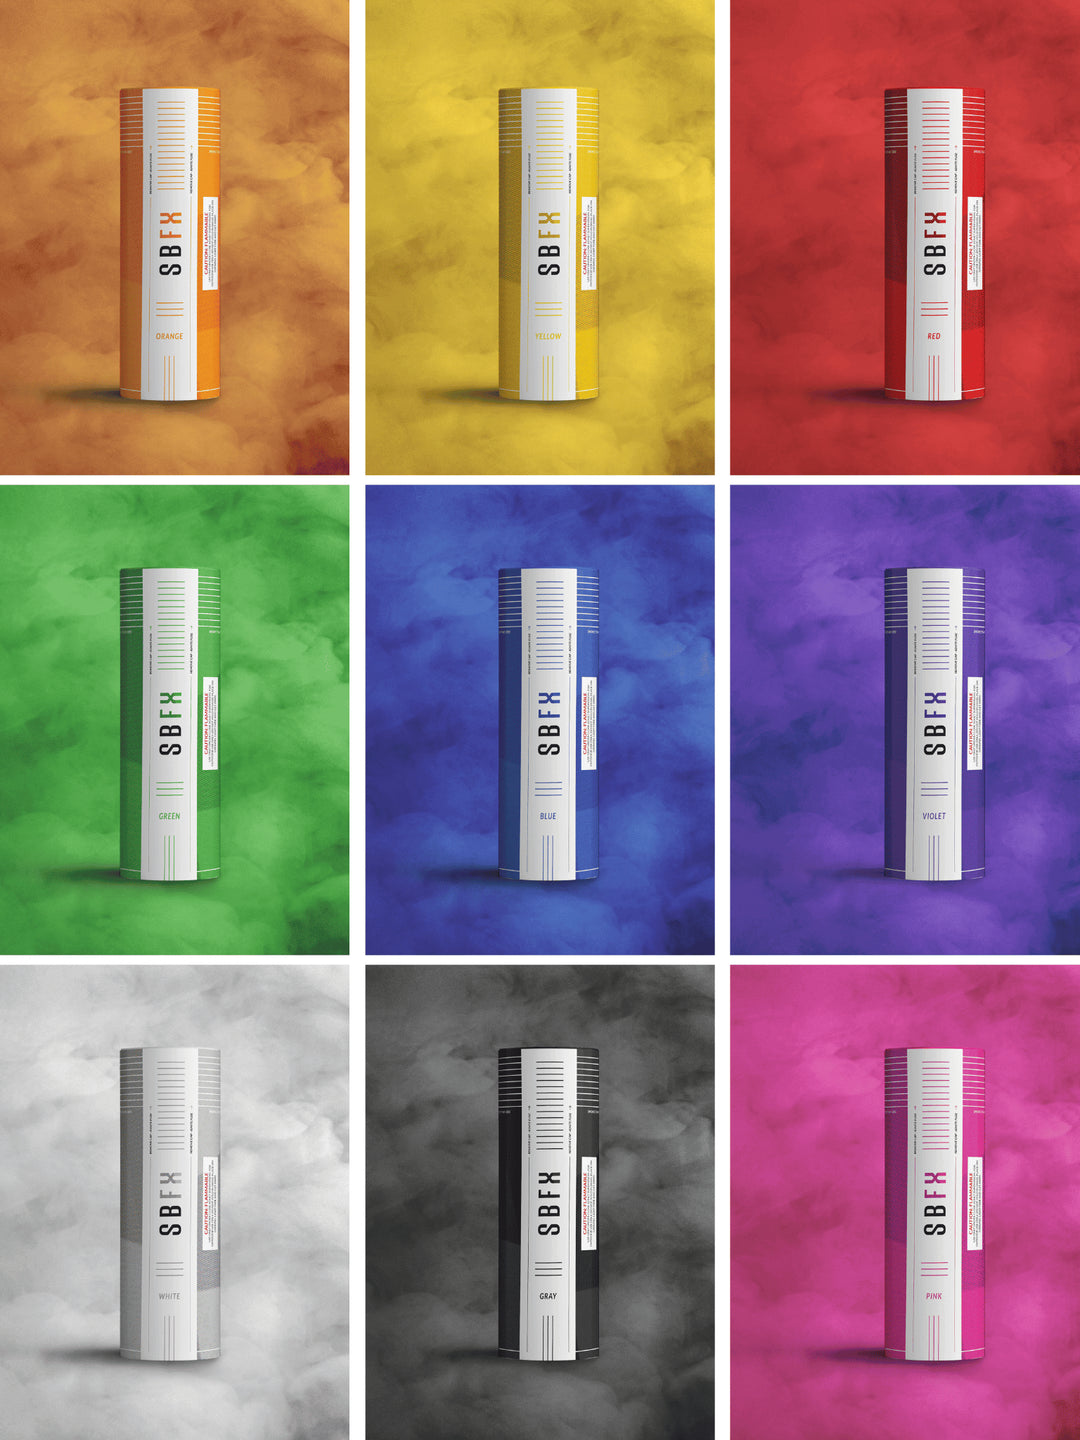
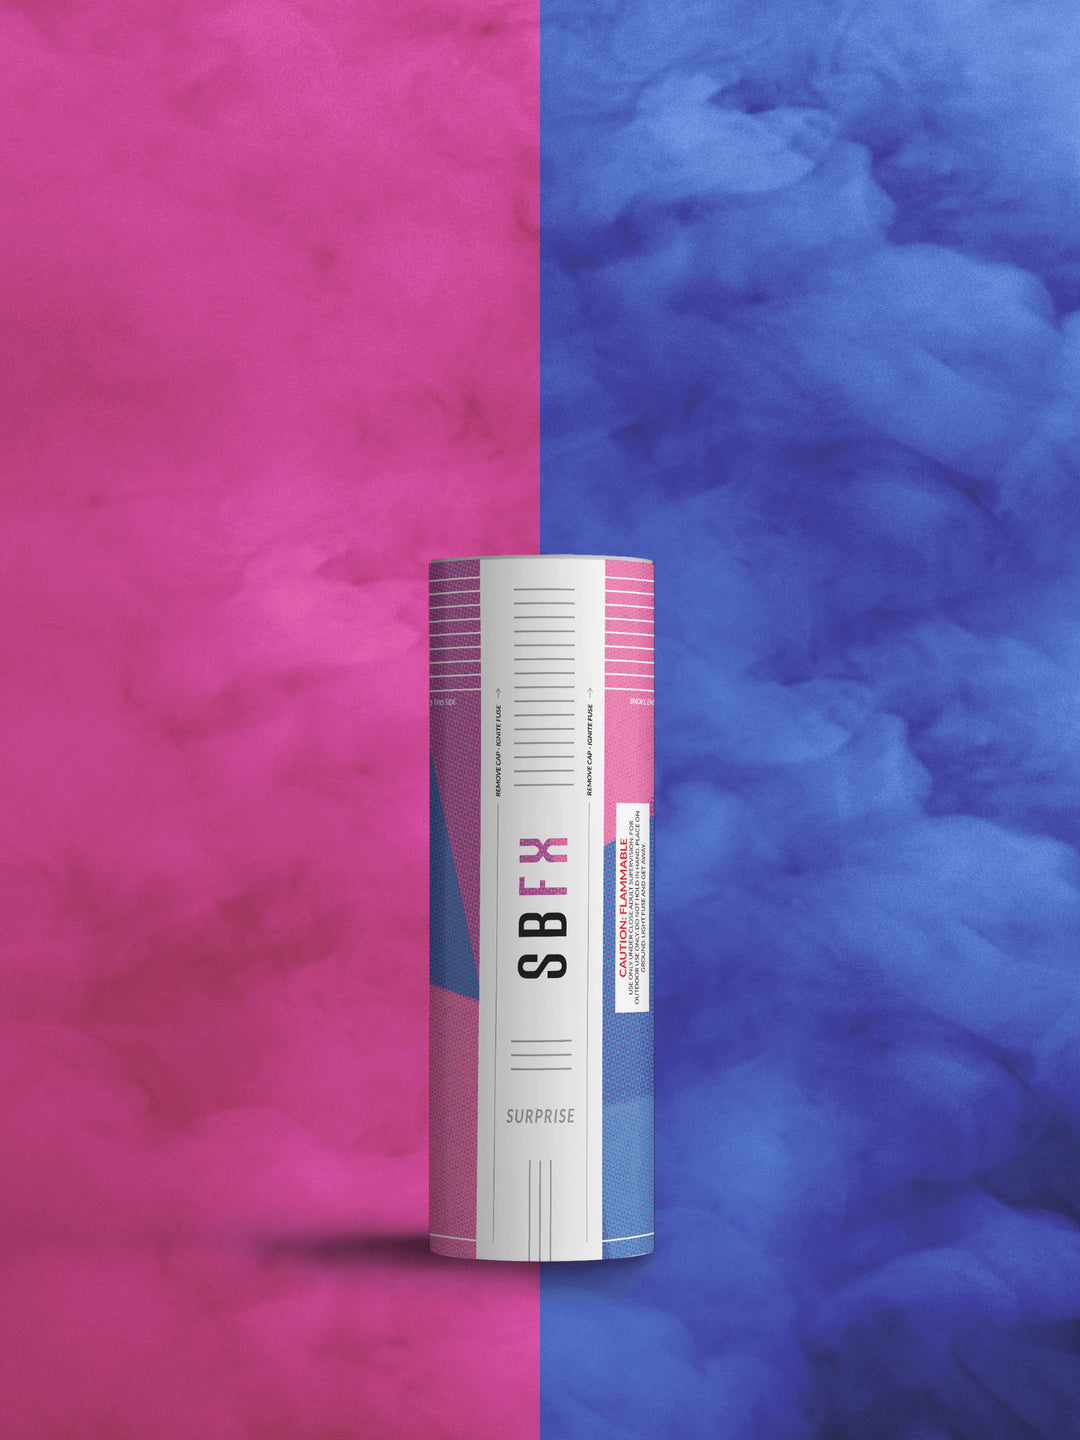
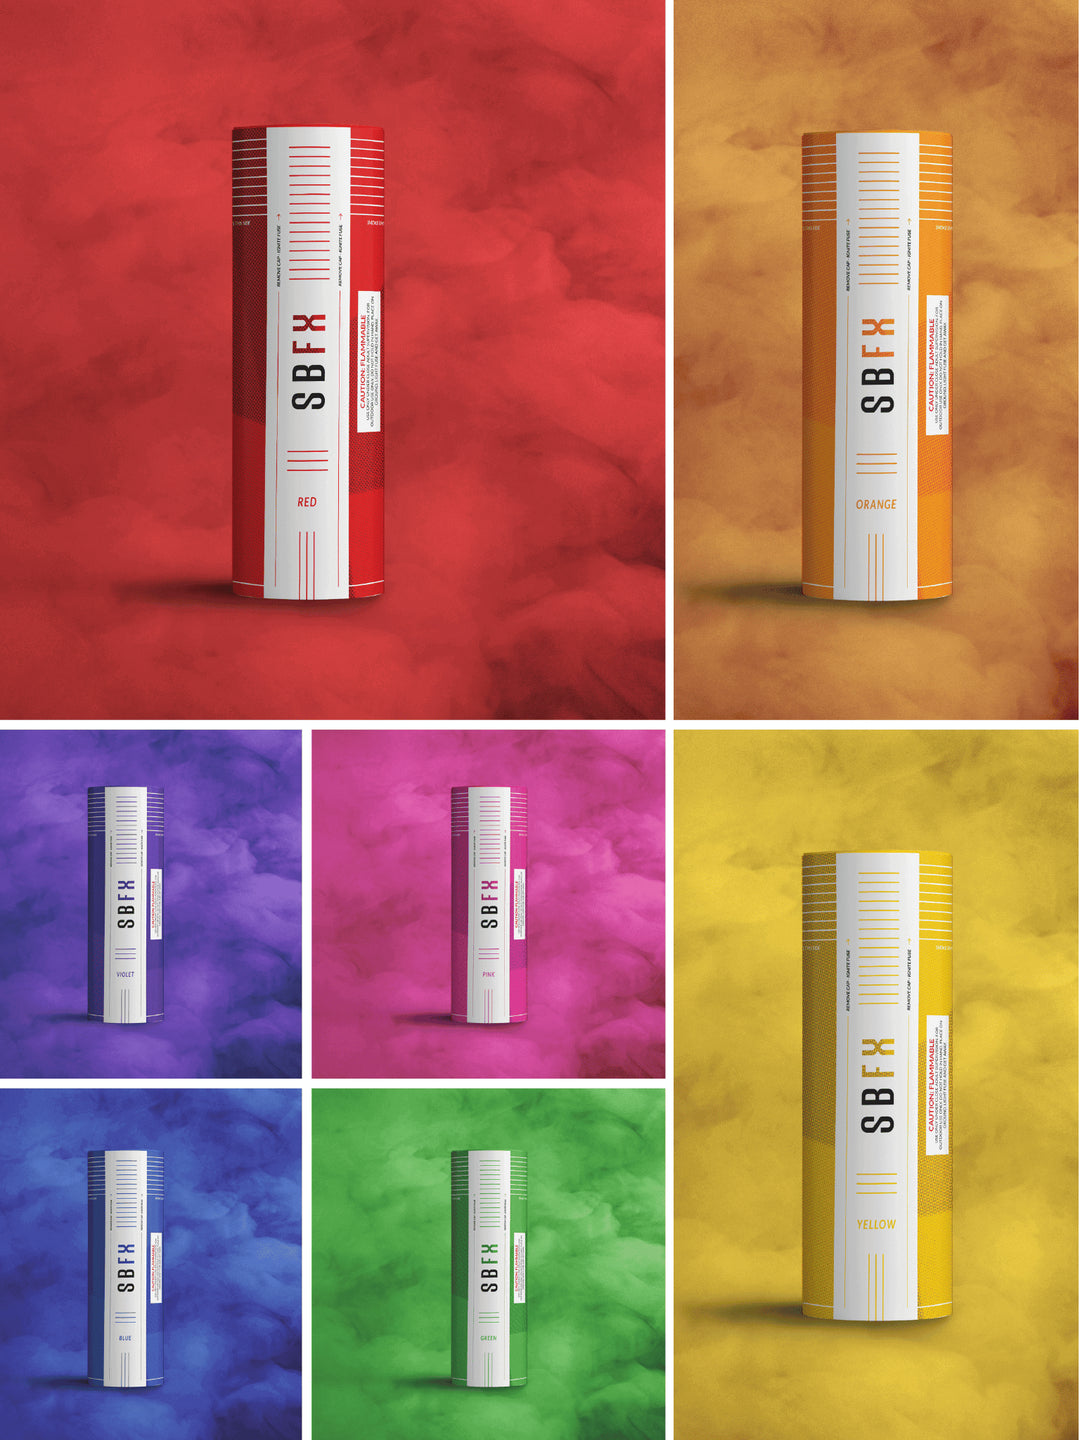
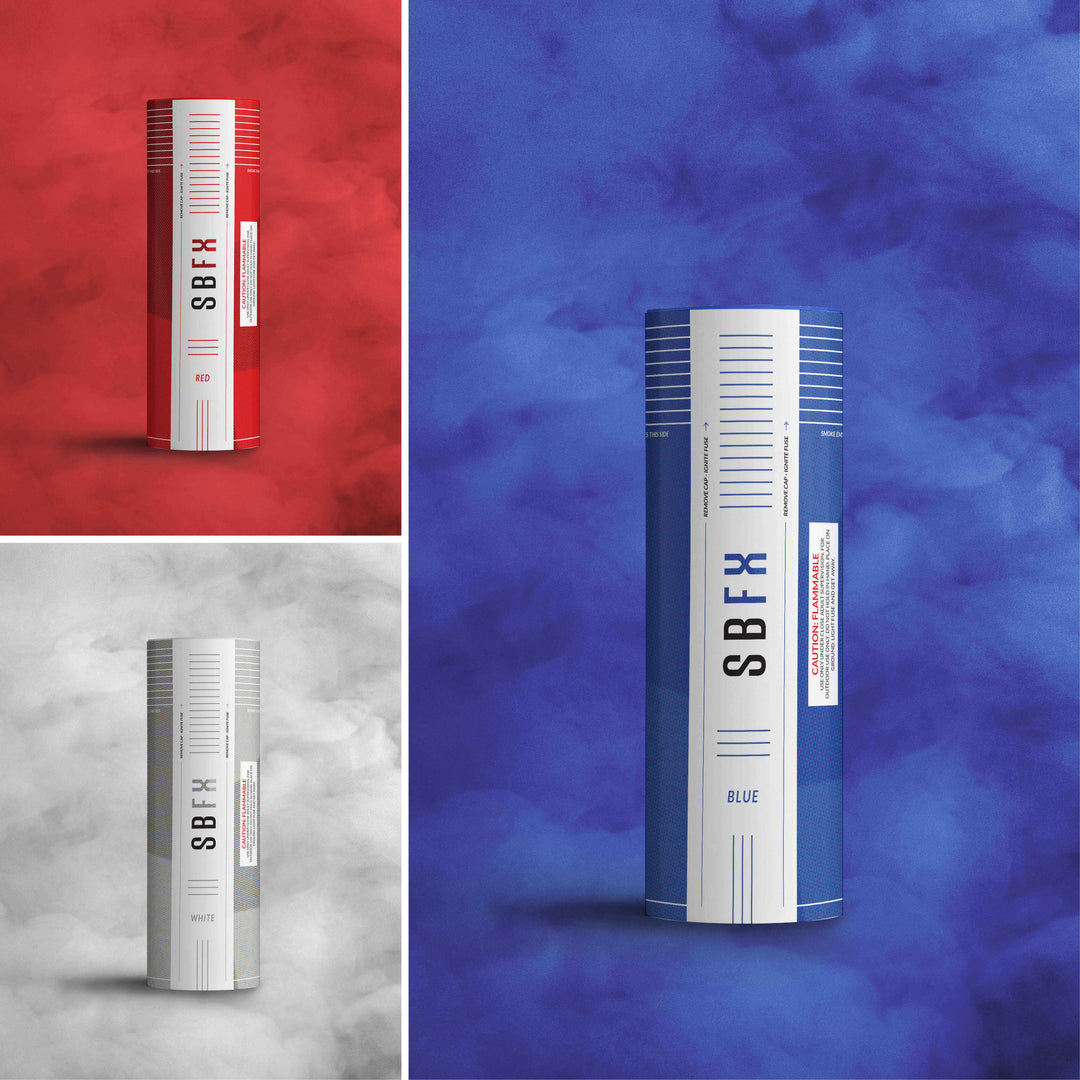
Now, let's talk about the smoke bombs. We used SBFX smoke bombs for this shoot. These smoke bombs are known for their safety features and provide 90 seconds of smoke, giving you plenty of time to capture your shot. Before starting the shoot, we gave the model instructions on how to hold and use the smoke bombs safely. It's important to communicate clearly with your model to ensure their safety and comfort throughout the shoot.
When using smoke bombs, timing is everything. You need to be ready to shoot as soon as the smoke starts billowing out. It's also important to keep an eye on the wind direction to ensure the smoke flows in the desired direction. With practice, you'll learn how to work with the smoke to create stunning, dream-like portraits.
Post-Editing in Lightroom Classic
Once you've captured your images, it's time to move on to post-editing. We used Lightroom Classic for this stage of the process. Lightroom Classic offers a range of tools and features that allow you to enhance your images and bring your creative vision to life.
We started by adjusting the exposure, highlights, shadows, clarity, dehaze, contrast, vibrance, and color tones. We then used Lightroom's AI detection to select the subject and applied adjustments to enhance their appearance. Additional adjustments were made to the background and specific areas of the image using brushes and masks. The goal of post-editing is to enhance the image without overdoing it. The final image should look natural and balanced.
Finalizing the Image
The final step in creating epic smoke bomb portraits is finalizing the image. This involves balancing the exposure, adding light, and removing any distractions. We made specific adjustments to the background and specific areas of the image to ensure the focus remained on the subject and the smoke.
We also provided a before and after comparison of the edited image to show the impact of our edits. The final image is a testament to the power of smoke bomb photography and the creative possibilities it offers. With the right tools and techniques, you too can create epic smoke bomb portraits.
Conclusion
Creating epic smoke grenade pictures requires a blend of technical skill, creative vision, and a willingness to experiment. From choosing the right location and camera settings to working with smoke bombs and editing your images, each step of the process plays a crucial role in the final result. We hope this guide has provided you with the knowledge and inspiration you need to start creating your own smoke bomb portraits.


