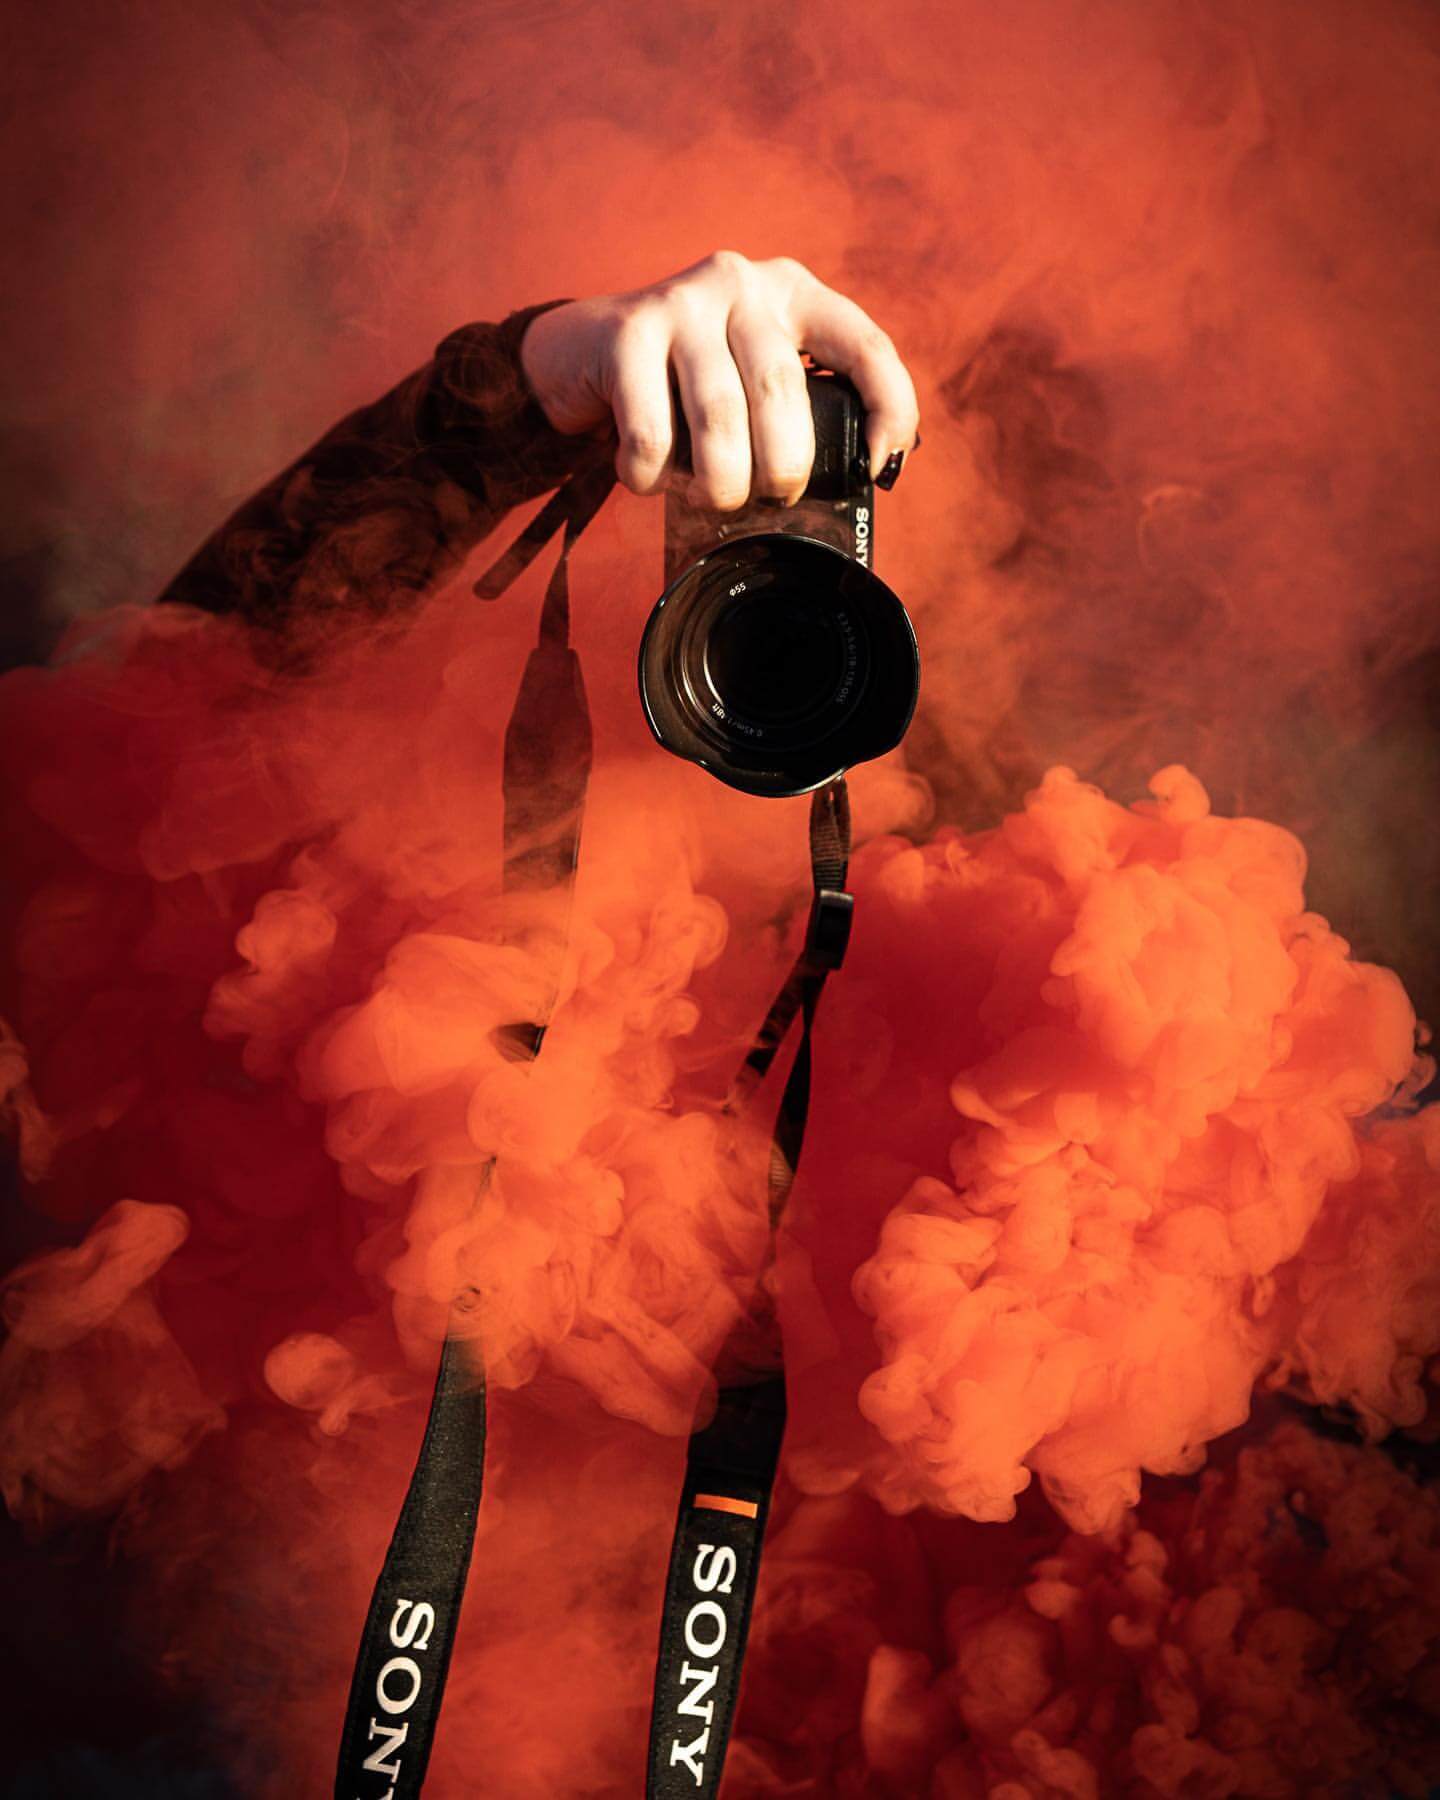
Shallow Depth of Field for Smoke Bomb Photography

What is a shallow depth of field in photography? And how can you use the technique for awesome, pro-level effects?
I’m going to cover everything you’ll need to know about shallow depth of field, including:
- What it is
- Why it can be useful for smoke bomb photography
- And a few easy ways to create that sick effect
I’m willing to bet that you’ll be an expert on shallow depth of field by the time you finish reading this.
Ready? Let’s start with a basic definition:
Shallow Depth of Field and Smoke Bombs: Why does it matter?
A shallow depth of field refers to an effect where a small fraction of the image is in focus.
For example, a picture might include an in-focus subject, but have a blurry background. This is super common in portraiture (and you’ll see that the majority of my examples are portraits for this very reason!).
A shallow depth of field is different from a deep depth of field, where the entire shot, from foreground to background, remains in focus. That technique is very typical in landscape photography due to the emphasis on detail. For something like smokes bombs and wedding photography, you'll definitely want to focus on a shallow depth of field
Why is a shallow depth of field effect important when shooting smoke bomb photos?
Photographers love using shallow depth of field effects for two big reasons:
- It separates the subject from the background, thus helping the subject stand out.
- It also generally blurs the background, which ends up looking really satisfying.
In many cases, shallow depth of field is a stylistic choice, and its use is dependent on the type of photographer behind the camera.
A few examples that tend to utilize the effects of shallow depth of field:
- Portrait photography
- Halloween Smoke Bomb photography
- Street photography (sometimes)
- Wildlife photography
- Pumpkin Smoke Bombs
- Fashion photography
- Gender Reveal Photos
- Product photography (sometimes)
This list is by no means definitive; and as this is a creative endeavor, you should feel empowered to use whatever method you like in any given situation.
How to achieve a shallow depth of field with colored smoke bombs:
1. Increase the subject to background distance
Possibly the easiest way to achieve a shallow depth of field effect is to position your subject as far away from any background as possible.
If your subject is standing right in front of your given background, it’ll be in focus regardless of what you do. Alternatively, if they’re standing 200 meters in front of that same background, it’s going to be significantly more blurry. You’re giving your background more room to blur.
Quick note: To be clear, the distance between your subject and background does not actually change the depth of field. It remains the same regardless (it depends on other factors that I discuss below).
Separating your subject increases the appearance of a shallow depth of field and gives you a near-equivalent effect.
2. Widen your lens’s aperture
Every lens has an aperture – which is essentially a hole – that will dilate or contract depending on your camera’s aperture setting. The wider the aperture, the more shallow the depth of field.
If you use portrait mode on your camera, it’ill automatically widen your aperture. But for maximum control, you should try using either the Aperture Priority or Manual Priority, which allow you to specify your preferred aperture (which directly affects the blurred appearance of the photo).
Just so you know, when it comes to apertures, small numbers, like f/1.8 and f/2.8, correspond to a wide aperture (and inherently shallow depth of field). Alternatively, large numbers, like f/16 and f/22, correlate to a narrow aperture (like you would typically use in landscape photography).
For the most intense shallow depth of field effects, you should use lenses with f/2.8 and wider if possible, that said, not every lens has the capability to go that wide; so keep that in mind.
One of the best ways to employ this is to experiment with a subject and a bunch of different apertures. Then take a look at each photo carefully, noticing how the aperture setting affects the depth of field.
3. Use a long lens (and get close to your subject)
The closer you are to your subject, whether optically (with a long lens) or physically (by moving toward your subject), the more shallow the depth of field and the more significant the background blur.
For that reason, the best shallow depth of field portraits are usually on an 85mm lens or a 70-200mm lens, as opposed to a 50mm or 35mm lens. That longer focal length makes it easier to get close, consequently decreasing the depth of field. Make sense?
Don’t despair if you only own a 35mm lens; you can still create a shallow depth of field. You just have to get close to your subject (make sure they brushed their teeth!). It might be a bit awkward if you’re photographing people since you’ll be shooting from right in front of their face, but it’s always worth it for the shot.
And just FYI, longer lenses have another advantage over shorter lenses:
They compress the background. It’s a bit difficult to explain, but it leads to a smoother shallow depth of field effect and creamier blur.
So if you can, try to shoot your shots from a closer distance along with using a long lens. (Don’t go wild with the focal length because if you try to use, say a 300mm lens, you’ll have to be way too far away, which becomes untenable. Not to mention the fact that you’ll lose some of the intimacy that is shared between photographer and subject)
4. Get a wide-aperture lens
Earlier, I mentioned that a wide aperture leads to fantastic shallow depth of field effects. All lenses feature a maximum aperture.
If a shallow depth of field is what you’re really after, a lens with a wide aperture (otherwise known as a fast lens) is what you need.
Sadly, these lenses tend to be a bit expensive, but they’re worth the investment if you want the shallow depth of field. Luckily, there are a few fast lenses, like the 50mm f/1.8, that are both capable of beautiful background blur and pretty inexpensive too.
A bonus that comes with fast lenses: they’re also great in low light!
Some lenses offer better background blur than others, so you should definitely do some research before purchasing, and see if you can find sample images as well. This way you can be confident with your decision.
Final thoughts on shallow depth of field:
After reading this article, you should feel pretty confident on the subject of shallow depth of field.
Get out there with your camera and use what I’ve taught you to create some awesome art. And most importantly, go have some fun out there!


