
The Ultimate Handbook for Smoke Bomb Photographers in 2023
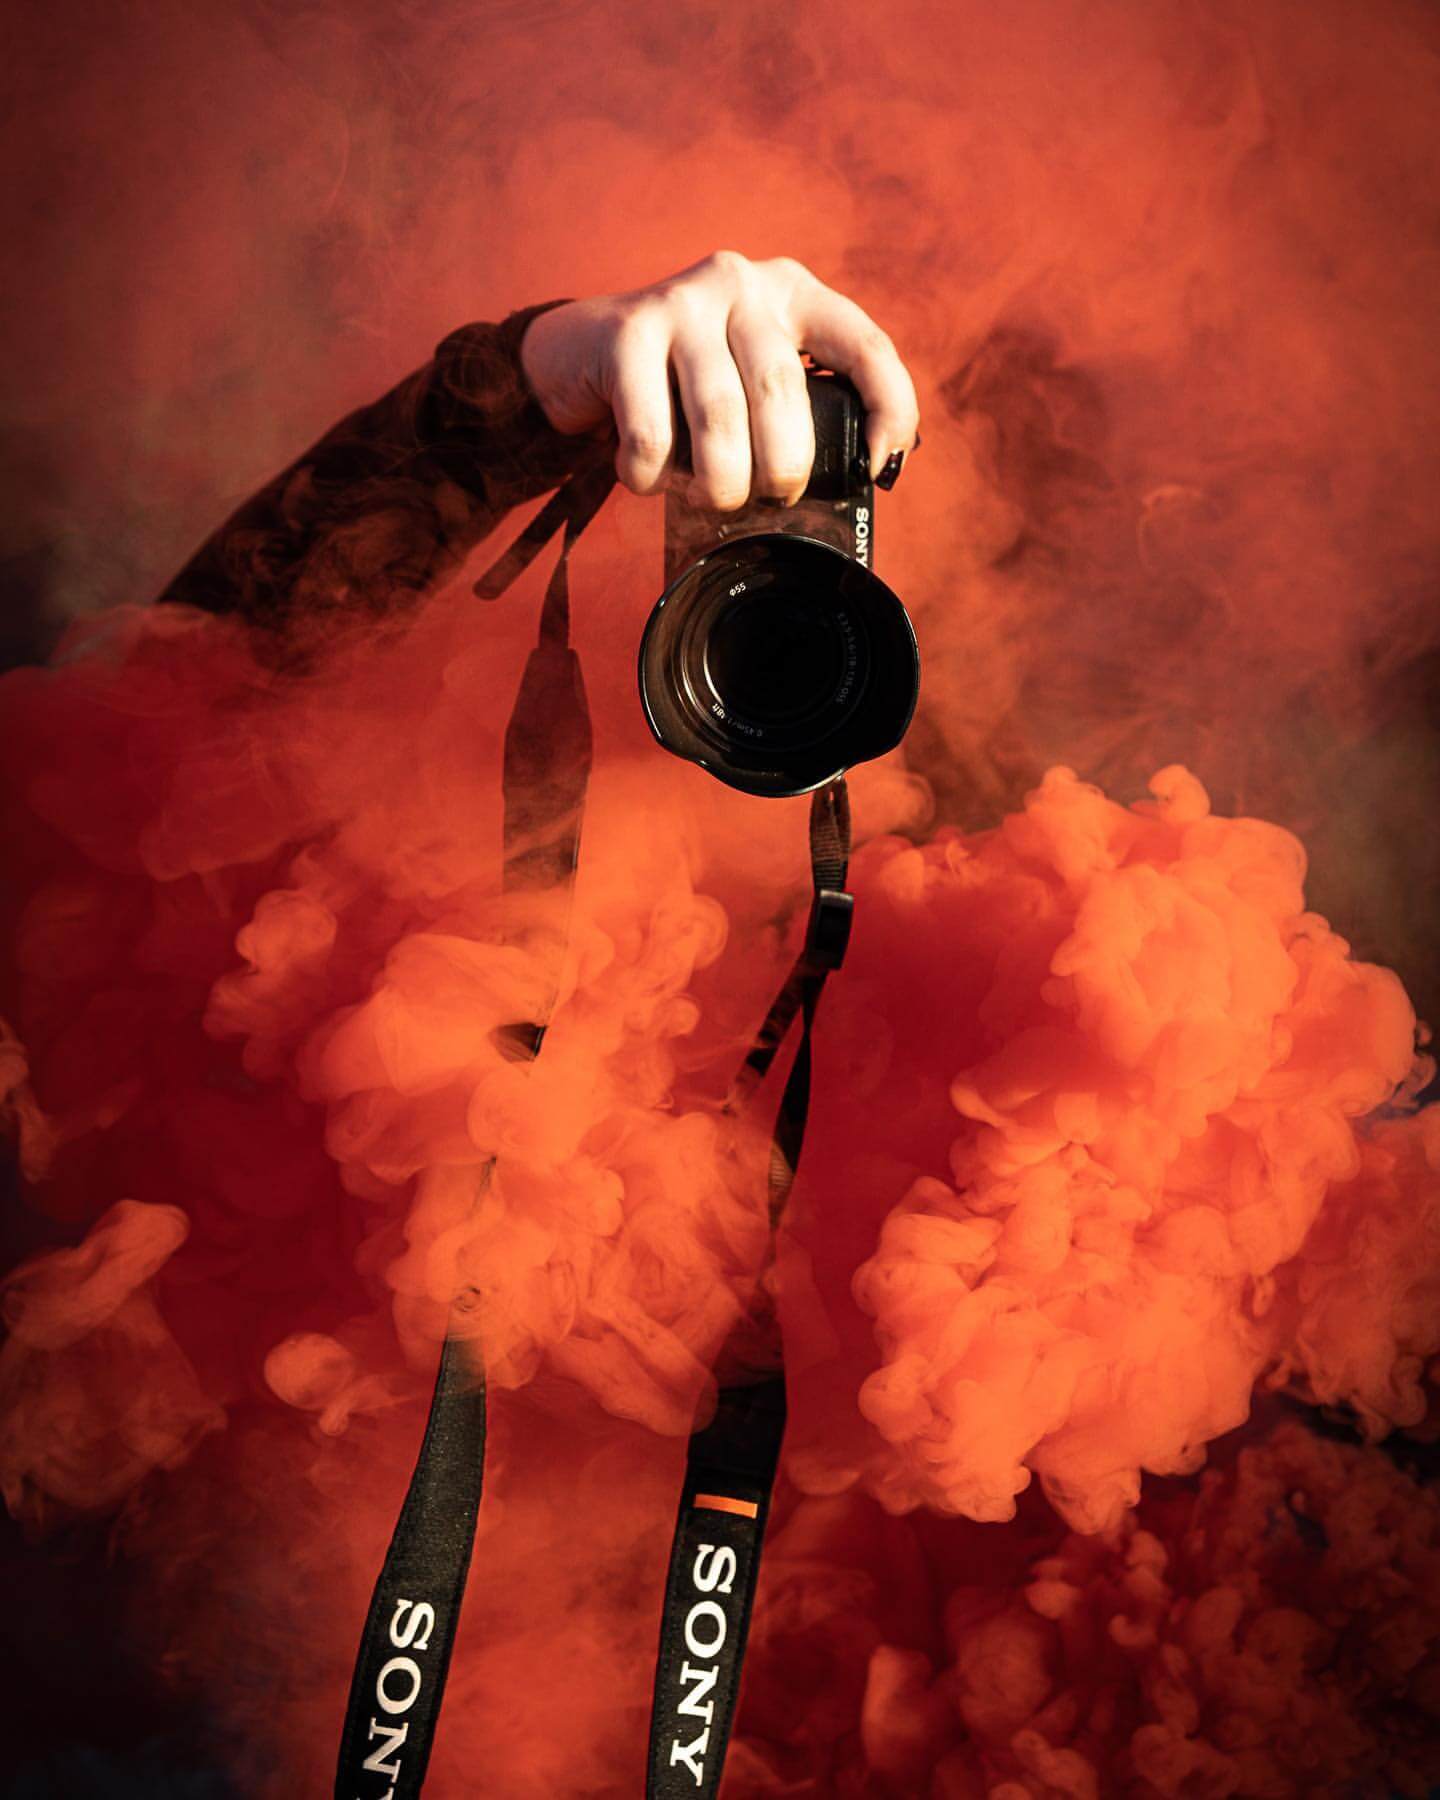
Smoke bombs are an essential tool for photographers who want to add a dramatic flair to their work. They create a unique look and feel, creating an atmosphere that can’t be replicated with other methods. The smoke bomb produces dense clouds of colored smoke which will linger in the air for up to 30 seconds or more depending on its size and design.
Contents:
- What is a Smoke Bomb?
- Choosing the Right Color
- Understanding the Safety Hazards
- Prepping for your Shoot
- Setting up the Scene
- Properly Lighting Your Images
- Capturing the Perfect Shot
- Tips for Editing Smoke Photos
- Working with Models and Props
- Creative Ideas to Try Out
- Troubleshooting Common Issues
- Exploring Different Angles
- Enhancing Colors in Post-Production
- Different Types of Smoke Bombs Available
- Make it Last: Storing & Cleaning
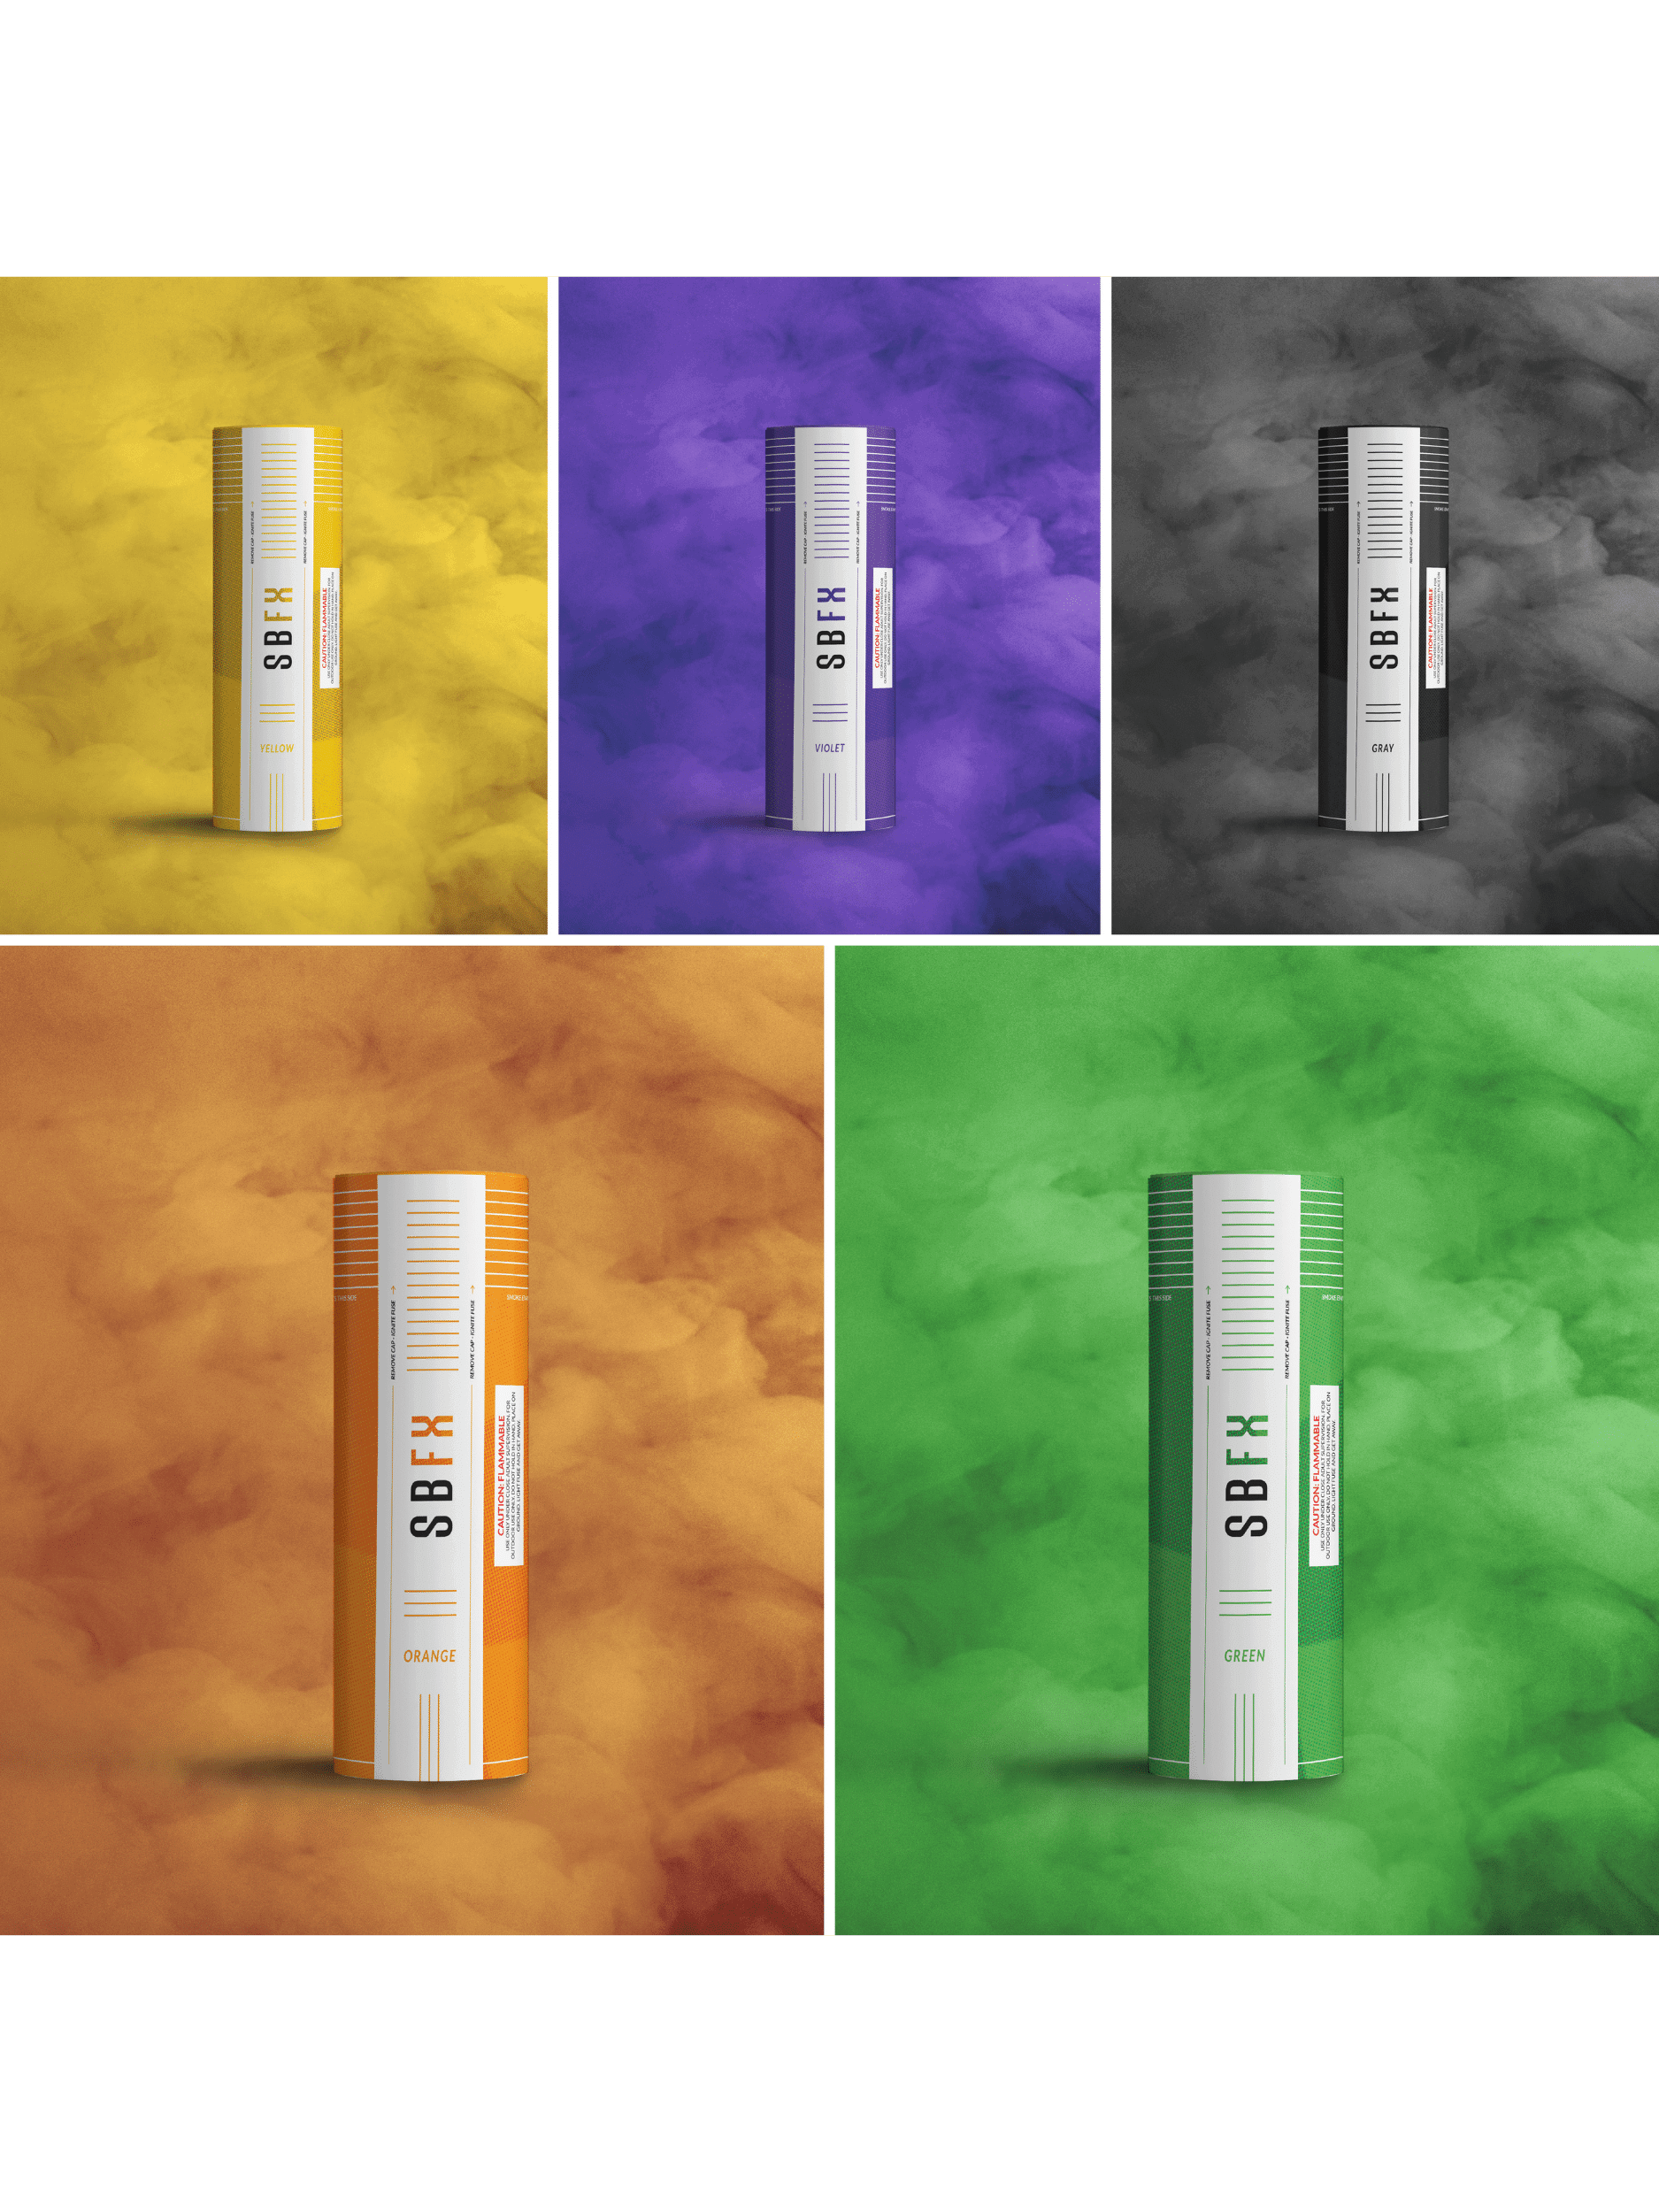
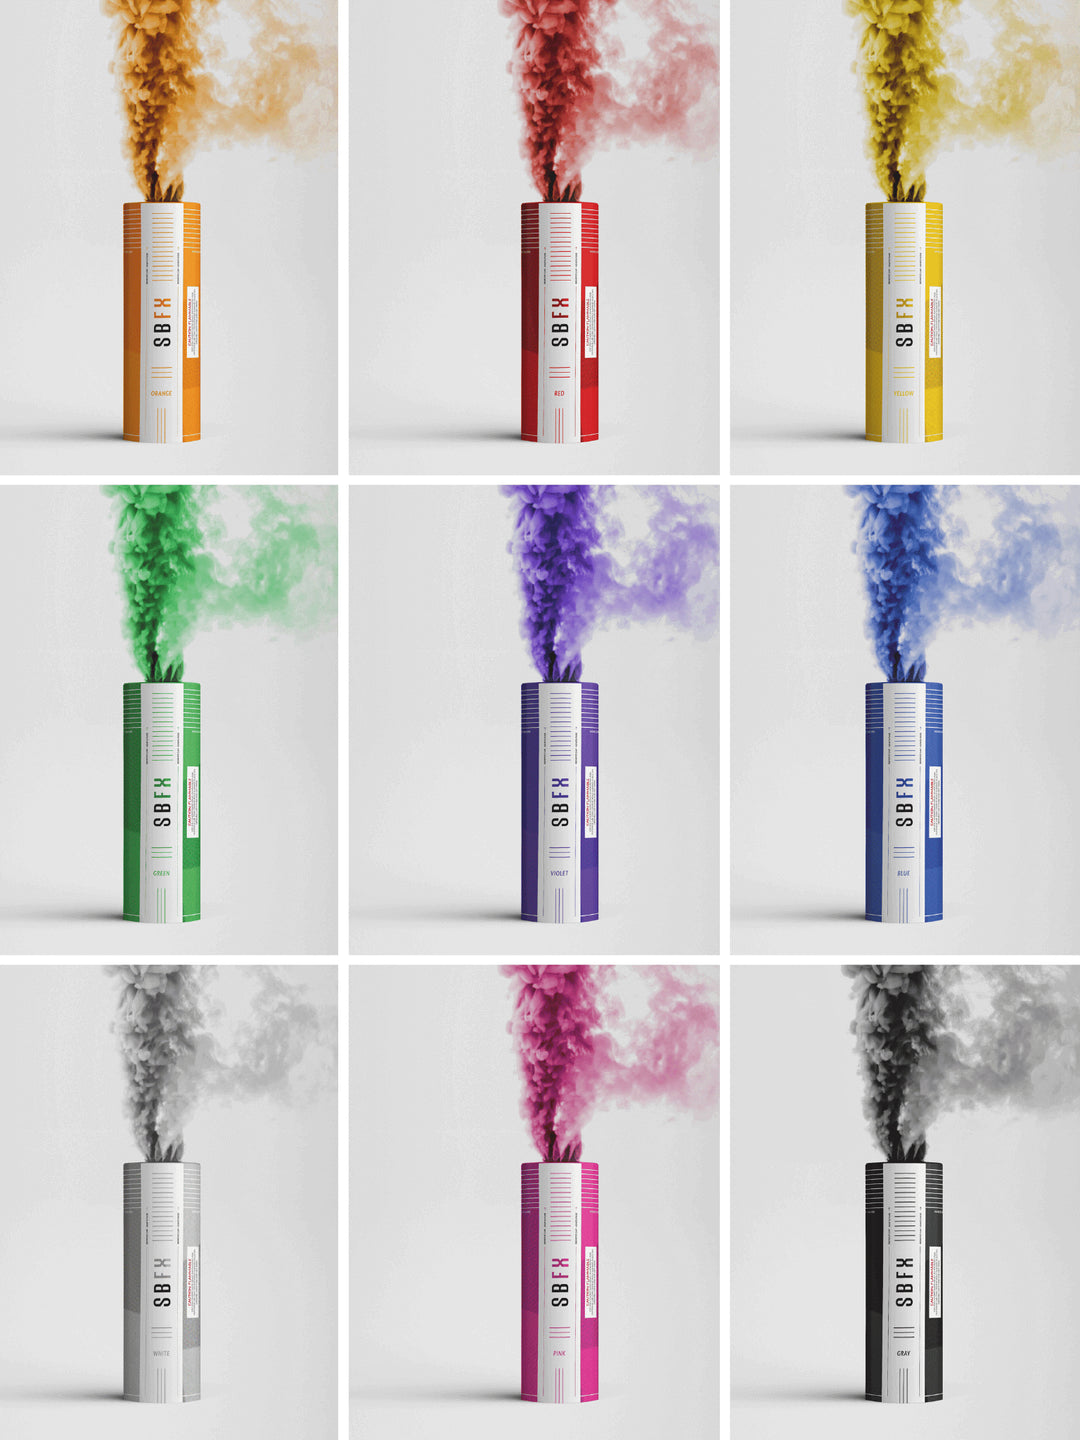
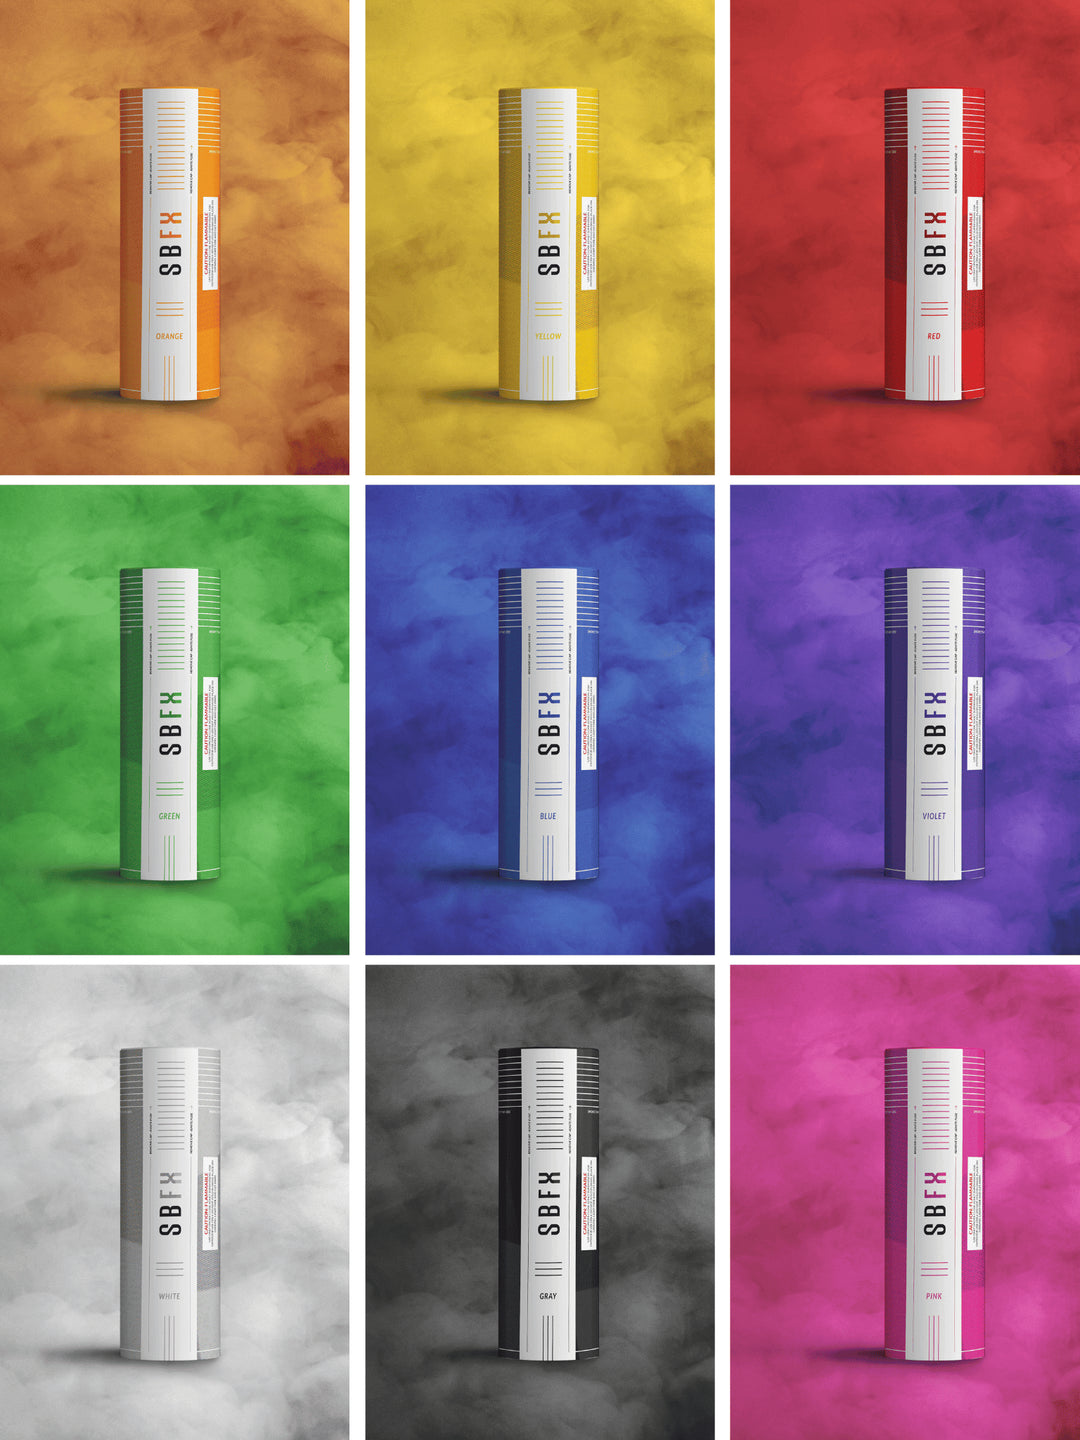
These tools come in many different sizes, colors and different smoke duration. Smoke bombs come in blue, orange, purple, pink, white, black red and green - these are great for adding shades of color into your shots.
What makes smoke bombs so special is that they provide instantaneous results without having to wait around for several minutes or hours. – perfect if you’re pressed for time during photoshoots. They don’t require any extra equipment to use them– making them much easier (and safer) than regular fireworks too!
The ultimate guide to smoke bombs for photography requires understanding how each type works best – there are lots of variables at play here including what kind of shot you're trying to capture for your outdoor shoots. You should also take into account factors such as wind direction when using them since this can affect how much smoke appears in your final image. Finally make sure that everyone present is aware before using one.
What is a Smoke Bomb?
Smoke bombs have become increasingly popular among photographers, especially in wedding and portrait photography. They are used to create a stunning backdrop for photos and videos that add an element of drama and excitement. But what is a smoke bomb?
A smoke bomb is essentially a canister or cylinder filled with material that produces large amounts of colored smoke when used. Smoke bombs come in different colors such as blue, red, orange,green, yellow, purple, white and black. Smoke bombs will produce thick clouds of colorful smoke that last anywhere from 10-90 seconds depending on the type of product you use.
Smoke bombs also come in various sizes ranging from small (micro) devices to larger ones suitable for creating large areas of colored smoke over wide open spaces.
Choosing the Right Color
When it comes to using smoke bombs for photography, the color of the bomb is one of the most important aspects. It's essential to choose a color that complements your vision and helps you create stunning images. While there are many colors available on the market, some of them stand out more than others and can add an extra layer of drama or vibrancy to your photographs.
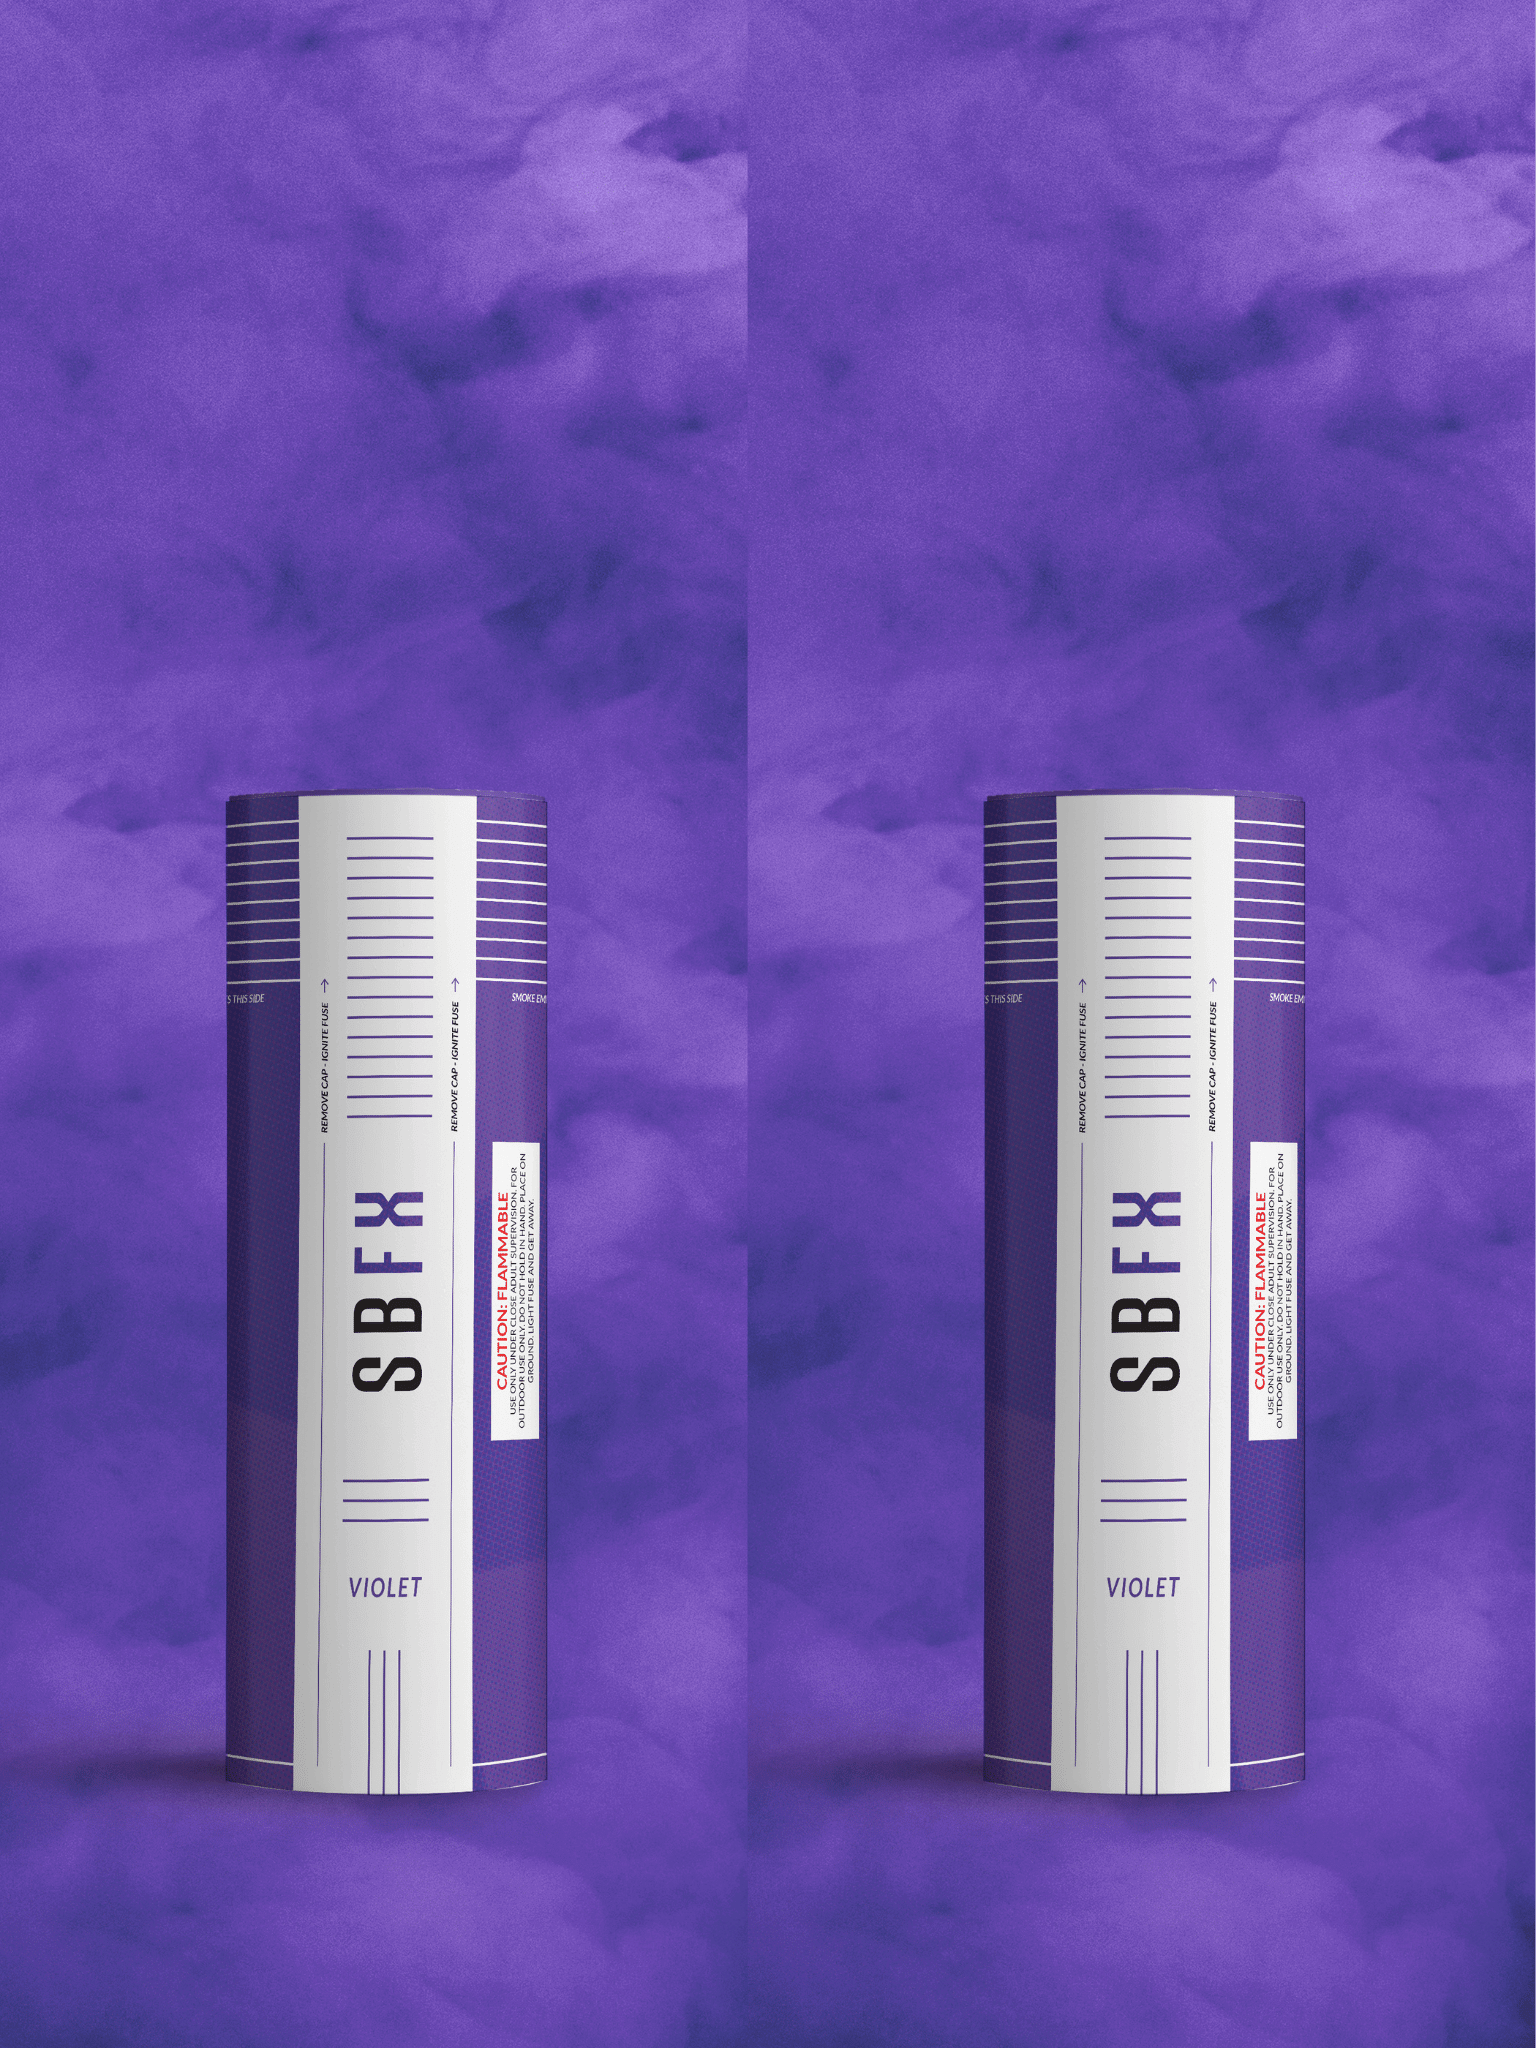
A popular choice among photographers is purple, as it gives off a mysterious yet beautiful feel in outdoor photos. This hue also works well with other colors such as blues and greens when mixed together, creating captivating visuals that can take your images from good to great. Reds and oranges are perfect for adding warmth and energy into shots; they'll make any subject look vibrant against a backdrop of smokey clouds.
If you want something truly unique then opt for neon hues like pink or yellow which will help draw attention to certain elements within a scene while still providing an interesting aesthetic effect overall. These shades will give your outdoor photos an eye-catching look that won't be forgotten anytime soon.
Understanding the Safety Hazards
Smoke bombs are a popular tool for photographers of all skill levels to create amazing and unique photos. However, it is important to understand how to use the smoke bombs safely.
Smoke bombs are meant for outdoor use only. Always follow these guidelines when working with smoke bombs for outdoor photography. Safe disposal should also be a factor as the smoke bomb can be hot during and after use.
Prepping for your Shoot
When planning for a smoke bomb photoshoot, there are some essential elements that need to be taken into account. It's always recommended to get some mini smoke bombs so you can test how to pull without wasting it on a big smoke bomb! The first and most important is the location. Smoke bombs produce an intense amount of smoke in a short period of time, so it’s best to find somewhere outside with minimal wind where you won't disturb anyone. If possible, scout out the area beforehand to determine what kind of setting you want before the shoot day arrives.
The second element is timing; make sure you have enough daylight left after prepping your set-up and lighting equipment for when the sun goes down or starts getting too low in order to get that perfect shot. You also don't want too much light because this can cause whiteout on your photos if not done correctly. Last but not least, bring along extra smoke bombs just in case one doesn’t work as planned or something else goes wrong during the shoot - having backups can save you from potential disaster!
Having all these factors ready ahead of time will help ensure your smoke bomb photography session runs smoothly without any unexpected hiccups along the way. Make sure everything has been double-checked and all questions have been answered before heading out on your big adventure.
Setting up the Scene
Creating a visually appealing photo using smoke bombs is no small feat. While some might think the use of smoke bombs involves simply lighting them up and capturing whatever happens, there is much more to it than that. To create an impressive shot with smoke bomb photography, setting up the scene properly is key.
The background plays a major role in creating a successful photograph, as it should complement or contrast with the colors of the smoke and provide visual interest for viewers. When selecting a background for your photo shoot, look for items that are interesting but not overly distracting from what you’re trying to capture – things like trees, buildings or other structures can make great backgrounds if used correctly. It’s also important to consider where you will be shooting – different outdoor settings can offer vastly different results depending on how much light and air movement are available.
In addition to the background itself, composition matters when photographing with smoke bombs too. Utilizing lines or symmetry in your image can give it structure and create depth while adding additional elements like props can help tell your story within each frame - both figuratively and literally! Taking time to plan out every detail before using the smoke bombs will ensure everything looks just right when captured on camera (or phone).
Properly Lighting Your Images
Lighting your photos correctly is the key to capturing stunning shots with smoke bombs. To ensure that you have optimal light for your images, consider several factors such as the time of day and outdoor location. When taking pictures outdoors in natural lighting, it’s important to take advantage of the golden hour - when the sun is low on the horizon and casts a warm glow across everything it touches. This type of light will make any image stand out, so be sure to plan accordingly.
If you are taking photos at night, then artificial lighting can come into play. It’s important to find a good balance between ambient and direct light sources in order to create an even illumination throughout your shot. Pay attention to shadows or objects within the frame as they can add depth and contrast to your images if used strategically. Don’t forget about backlighting. A powerful flash behind your subject can help illuminate smoke trails for an extra dramatic effect in post-processing later on.
No matter what kind of outdoor environment you choose for shooting with smoke bombs, there are endless possibilities when it comes to creating unique imagery with them. So get creative and experiment with different lighting setups until you find one that works best for you – after all photography should be fun!
Capturing the Perfect Shot
Capturing the perfect shot with smoke bombs can be a tricky endeavor, especially if you are new to this style of photography. To get the most out of your smoke bomb shots, there are some key steps that you should follow.
The first step is to pick the right outdoor location for your shoot. Your model or subject should be able to move around safely without any obstructions or distractions. You'll also want to make sure there isn't too much wind so that the smoke doesn't disperse too quickly and ruin the effect.
Another important step is making sure you have enough light in order for the colors from the smoke bombs to really pop against whatever background or scene you're shooting against. Natural lighting works best but if necessary, set up some additional artificial lights so that they don’t interfere with each other when taking photos of multiple subjects in one frame.
Timing is essential when capturing those perfect shots with smoke bombs. Depending on how large they are and what type they are, they will usually last between 30 seconds up to 90 seconds at most before dissipating completely into thin air – so be prepared by having all your settings ready beforehand!
Tips for Editing Smoke Photos
Editing smoke photos can be a challenging task, especially for beginners. The most important thing to keep in mind is that the editing process will help you create beautiful and unique photographs. Here are some tips for successfully editing your smoke photos:
1) Increase contrast - Adding contrast to your photo will help bring out the details of the smoke plumes and make them stand out more. You can do this by using an adjustment layer or simply adjusting the curves in Photoshop.
2) Boost color saturation - Increasing color saturation helps enhance the colors of your smoke bomb images and adds depth to them. This can be done with simple hue/saturation sliders or by adding a vibrance adjustment layer.
3) Sharpen details - Sharpening is essential when it comes to making sure all of the fine details of your image are visible, such as individual strands of smoke or small pieces of debris caught in mid-air. A high pass filter should do the trick here. 4) Add light leaks – Adding light leaks gives a dreamy effect that makes any photograph look professional and eye-catching, so don’t forget to experiment with this technique! Light leaks also give a nice vintage feel if you’re looking for something special for your project.
Working with Models and Props
When it comes to creating interesting and dynamic photographs, working with models and props can be a great way to add an extra level of creativity. Smoke Grenades are particularly well-suited for this kind of photography because they offer both color and texture, making them ideal for adding atmosphere or providing visual interest in the background of your shots.
Using smoke bombs in photo shoots requires some practice, as you’ll need to work out the right combination of light, exposure settings, lens choice and composition that will help create the desired effect. However, once you have perfected your technique there is no limit to what you can achieve with smoke bombs – from dramatic landscapes filled with vibrant color to portraits that capture movement and energy.
Smoke bombs also provide plenty of opportunities for experimentation; from combining multiple colors together for unique effects to experimenting with different shapes such as swirls or waves - all possible thanks to their slow burning nature which allows photographers more time than regular fireworks would give them when capturing creative images. Their relatively low cost makes them an affordable tool for any photographer looking to experiment without breaking the bank.
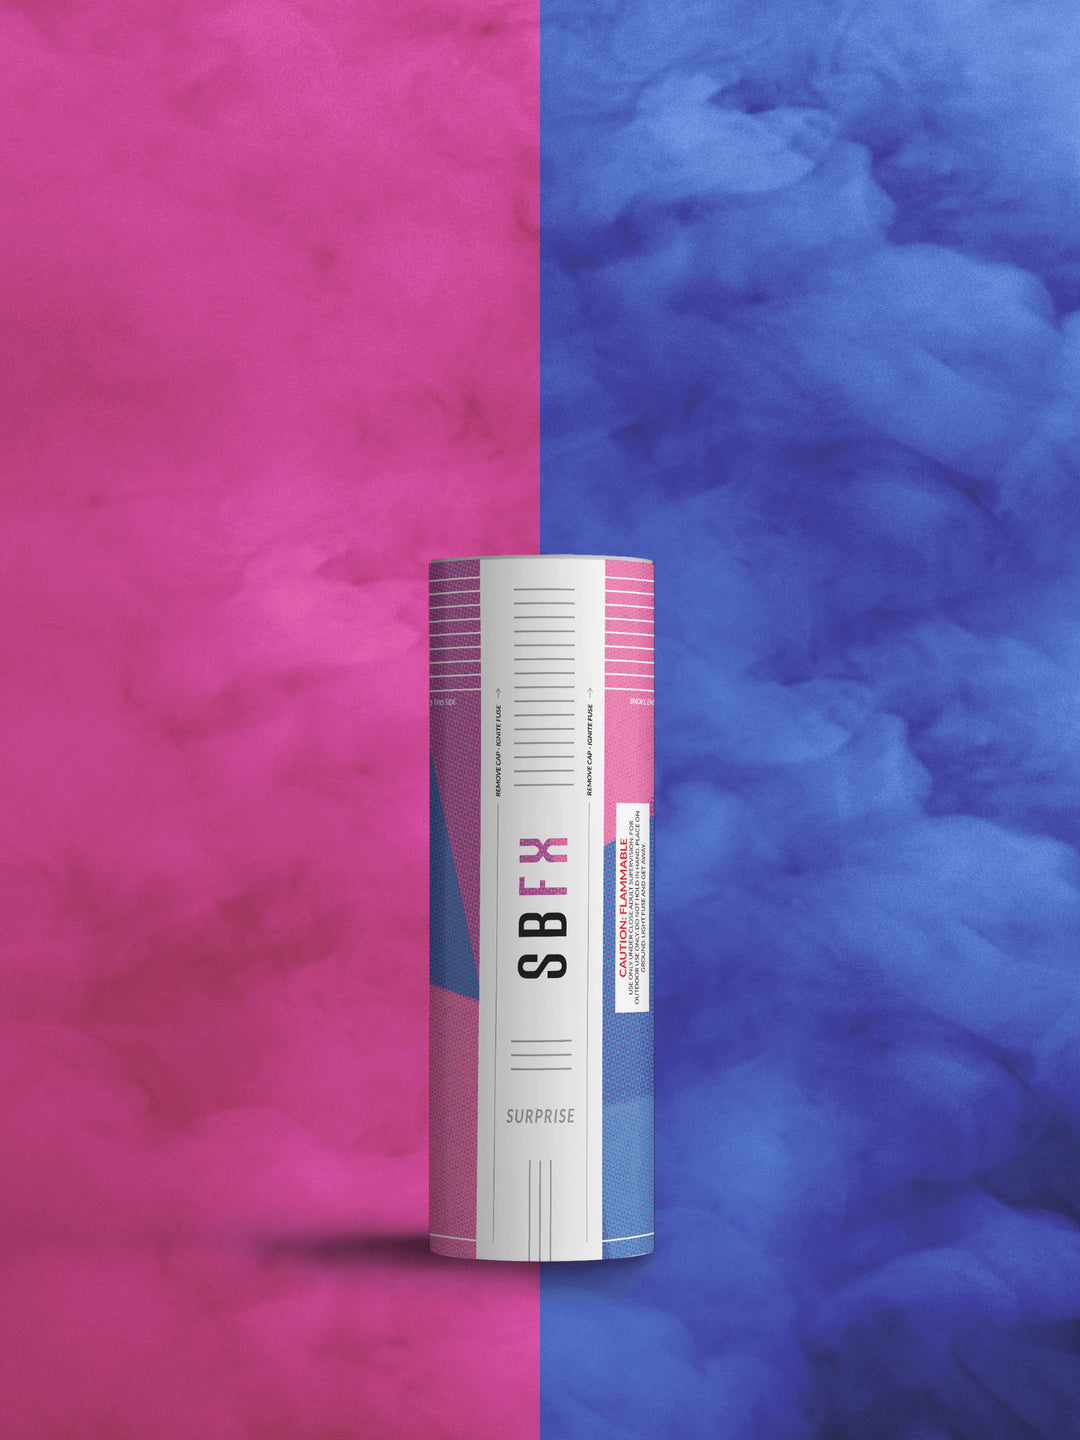
For gender reveal smoke bomb pictures, you'll want to make sure the soon-to-be parents are prepared for how to ignite the smoke bomb.
Creative Ideas to Try Out
Photography is an art that allows us to capture special moments in life and preserve them forever. Smoke bombs, especially rainbow smoke bombs, are a great way to add a unique touch to any photograph, creating dramatic effects and mesmerizing visuals. With the right techniques, smoke bombs can be used for many different creative ideas.
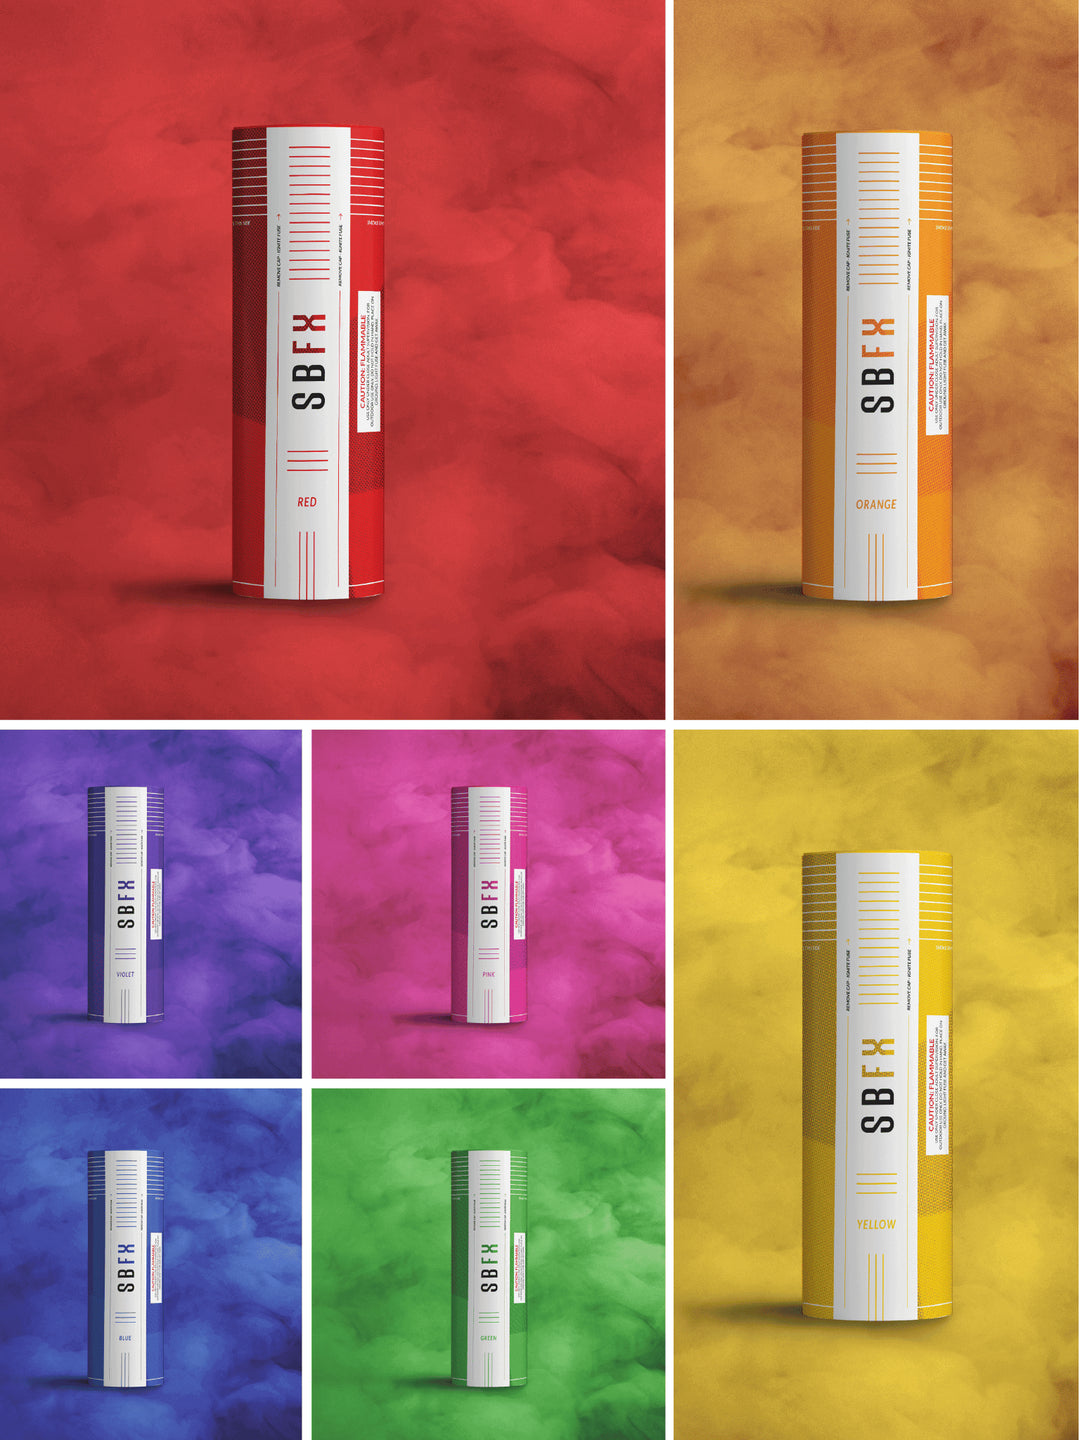
One popular idea is using multiple smoke bombs at once for a colorful explosion of color. By setting up multiple colored smoke bombs in strategic locations around your subject or scene, you can create captivating images with interesting shapes and patterns emerging from the cloud of smoke. You could use contrasting colors together such as blue and orange to make vibrant photographs with strong visual impact.
Another great concept is layering photos taken with different colored smoke bombs on top of each other for a more abstract look. This technique can result in dreamy pictures where several layers blend into one another like clouds rolling across the sky or fog rolling through mountainside forests – both of which are perfect scenes to experiment with this style. You could also combine it with double exposure photography by overlaying two separate shots on top of each other; this would create even more dynamic results depending on how well-executed your composition was!
When it comes time for the 4th of July, mixing up some red white and blue smoke bombs is an awesome idea for creative photos.
Last but not least, halloween smoke bombs are my favorite time of the year; seeing how photographers utilize my product with their awesome creativity is unmatched.
Troubleshooting Common Issues
Smoke bombs are a great way to add unique effects to your photography, but sometimes they can be tricky. Knowing how to troubleshoot common issues will help you get the most out of your smoke bomb photoshoots.
To fix this issue, make sure you purchase from a reputable supplier.
Sometimes you may find that your photos come out looking too dark or overly saturated with color due to using an incorrect type of film or camera settings. To correct this issue, try using a higher ISO setting on your camera and/or selecting different types of film such as slide films which are less sensitive than negative films when it comes to capturing colors in photos taken with flash lighting. You should also experiment with adjusting shutter speed and aperture size until you achieve desired results for your images.
Exploring Different Angles
Capturing the perfect shot with a smoke bomb can be challenging but rewarding. Exploring different angles can help you capture the right angle for your photo. Start by finding an area that has good lighting, preferably natural light and not too much wind to ensure your smoke bombs do not get blown away quickly. A good idea is to use one color of smoke bombs as the base and then layer other colors over it to create interesting visuals. This will make sure each individual color has enough time to develop before adding more layers. You may also want to consider varying heights when taking shots; this could add depth and contrast in your photos making them stand out from the rest. Experimenting with different shutter speeds can bring about some creative results - try longer exposures for a dreamy effect or shorter ones for vibrant colors that are full of life!
Enhancing Colors in Post-Production
When it comes to making the most out of your smoke bomb photography, one crucial step is often overlooked: post-production. After you have captured your images and taken a look at them on a computer screen, there are plenty of ways to enhance their colors in order to really make them stand out.
The first step is understanding how color works within an image. In order for the best results, you should learn about hue, saturation and luminosity as these three elements work together to create beautiful imagery that will turn heads. Knowing which hues work well with each other will help you choose the right color combinations when adjusting the brightness or contrast of an image.
Having a basic knowledge of Photoshop or another editing program can be incredibly helpful when bringing out those vibrant colors after shooting with smoke bombs. With some simple tweaks like increasing saturation levels or experimenting with different filters, you can easily take any shot from dull to dazzling in no time.
Different Types of Smoke Bombs Available
Smoke bombs are one of the most popular tools used in photography and videography. From movie scenes to photoshoots, smoke bombs can add a unique flair to any image or video. There is a wide variety of smoke bomb types available for photographers and videographers to choose from.
Each type of smoke bomb offers something special to enhance your outdoor images or videos – there’s something for everyone when it comes to using these versatile tools.
Make it Last: Storing & Cleaning
Smoke bombs are a great way to add a unique touch to your photos, but the smoke dissipates quickly. To make sure you get the most out of each bomb and protect it from damage during storage, it's important to keep them in their original packaging and keep them dry. This will prevent any moisture or other contaminants from damaging the product. If you're going to be taking your smoke bombs with you on location, store them in an airtight container so they don't leak or become damaged while traveling.
If you've already used one of your smoke bombs for photography and need to clean up afterward, there are several options available depending on what kind of materials were exposed. For fabric surfaces like clothes and furniture, use a mild detergent such as dish soap mixed with warm water; for hard surfaces like walls or floors, use a damp cloth or paper towel soaked in vinegar solution; for plastic items such as camera lenses and cases, wipe down with rubbing alcohol. Once everything is cleaned off thoroughly using these methods (or whatever method is appropriate), dry all affected surfaces completely before storing away your equipment until next time.